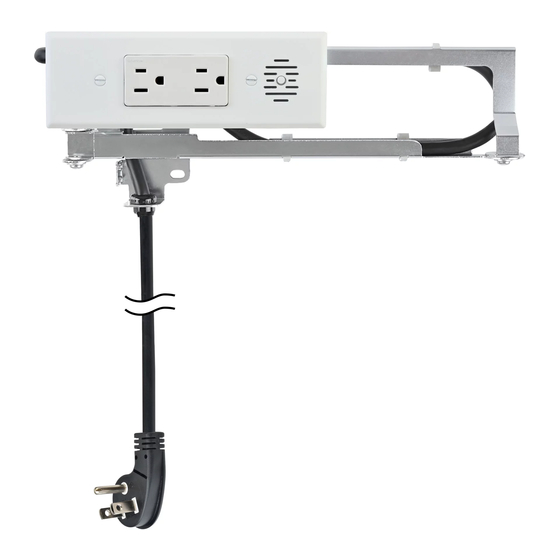
Docking Drawer Blade Duo 1514-2 Series Інструкція з монтажу
Переглянути онлайн або завантажити pdf Інструкція з монтажу для Аксесуари Docking Drawer Blade Duo 1514-2 Series. Docking Drawer Blade Duo 1514-2 Series 2 сторінки.
Також для Docking Drawer Blade Duo 1514-2 Series: Інструкція з монтажу (2 сторінок)

Blade
Series
Installation Instructions
BLADE DUO™ PART #:
BLADE™ PART #:
1514-2xx
1514-1x0
2012-2xx
2012-1x0
Time Required - 30 min
Tools Needed:
• Screwdriver
• Jigsaw
• Square
• Drill
• Pencil
• Measuring Tape
• Cutout Template
Downloadable Resources
For additional planning resources, visit
dockingdrawer.com/downloads
• DXF and STEP Files
• Electrical Planning Guide
• Mounting Diagrams
• Electrical Certifications
FOR CANADA
Docking Drawer Blade Duo & Blade are
ETL Listed for use in Canada when installed
with an Interlock Box* that de-energizes the
outlet when the drawer starts to close.
(*sold separately)
For installations with optional Interlock Box,
see addendum installation manual before
starting the outlet installation.
CAUTION – READ CAREFULLY
• Failure to follow these instructions
can cause death or permanent injury.
Do not work on live electrical circuits!
Make absolutely certain power is off
before connecting the device!
• This product is for dry, indoor and
permanent installations only.
• Install the device in accordance with all
national and local electrical codes.
How to Install the Outlet
There are 4 methods to install the Blade Series
depending on your drawer box type. The
following instructions detail the installation
process for Shallow drawer box types. Need
more detail for the other options? Call us at
(925) 233-5598.
Step 1 -
Verify there is space available for the
in-drawer outlet behind the drawer box. The
Docking Drawer Blade Duo and Blade require
at least 2" of space behind the drawer box and
15" minimum drawer box width.
DOCKING DRAWER
BLADE
Step 2 -
Remove the cutout template and
flip to the side that corresponds with your
product's part number.
Step 3 -
Locate the proper location for
the receptacle box cutout using our cutout
template. You can locate the proper location
from either the inside or backside of the
drawer box, making sure that the arms will
not interfere with the slides and that there is
enough material surrounding the receptacle
box to securely hold it in place.
Step 4 -
With a 1/2" drill bit, drill a hole in
each corner, being careful not to splinter the
wood on the inside of the drawer box. Using
one of the 1/2" holes, insert a jigsaw and then
make the required cutouts in the drawer box.
