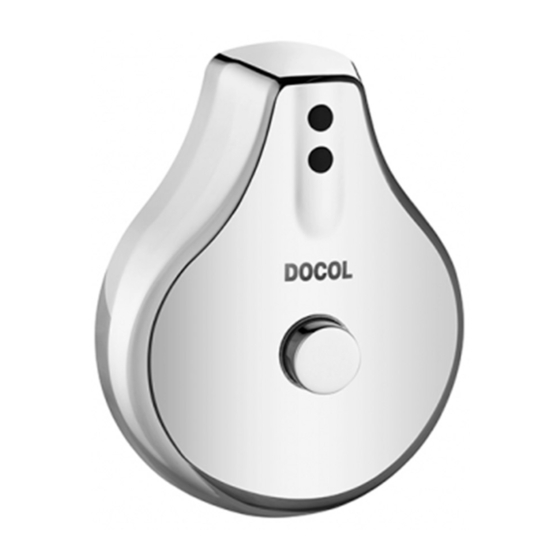
DOCOL 00503806 Посібник - Сторінка 8
Переглянути онлайн або завантажити pdf Посібник для Аксесуари DOCOL 00503806. DOCOL 00503806 8 сторінок.

Instalação do acabamento
/ Escutcheon instalation / Instalación de la capa / Installation du couvercle
ANTES DE INICIAR A INSTALAÇÃO DO PRODUTO REGULE O CICLO DA
VÁLVULA DE DESCARGA PARA A FAIXA DE 4 A 6 SEGUNDOS.
BEFORE STARTING THE INSTALLATION ADJUST THE CLOSE CYCLE OF THE FLUSH VALVE
BETWEEN 4 TO 6 SECONDS.
ANTES DE COMENZAR LA INSTALACIÓN, AJUSTE EL CICLO DE LA VÁLVULA DE DESCARGA PARA
EL RANGO DE 4 A 6 SEGUNDOS.
AVANT DE COMMENCER L'INSTALLATION DU PRODUIT, RÉGLEZ LE CYCLE DE LA CHASSE D'EAU
SUR 4 À 6 SECONDES.
Regulagem do registro integrado /
Ajuste del registro integrado /
Abrir
1a
Abrir
2
Open
Ouvrir
1
Após a regulagem, posicione a chave na posição horizontal.
After adjustment place the part in horizontal position.
Después de regular colocar la manija en posicion horizontal.
Après le réglage, mettez la clé à l'horizontale.
2a
2b
8
Adjusting control valve / Réglage du robinet intégré
Fechar
Cerrar
Close
Fermer
Substitua o parafuso de ajustagem e a chave do
registro integrado (A).
Parafuso antigo: 50mm
Parafuso novo: 80mm
Replace the adjusting screw and key of the gate vale (A).
Previous screw : 50mm
New screw: 80mm
Sustituya el tornillo y la manija del registro integrado (A).
Tornillo anterior: 50mm
Tornillo nuevo: 80mm
Remplacez la vis de réglage et la clé du robinet intégré (A).
Ancienne vis : 50 mm
Nouvelle vis : 80 mm
3
Regule a altura do parafuso
utilizando o gabarito de ajustagem.
Caso o gabarito não encoste na
parede, use o parafuso antigo.
Adjust the height of the screw using the
template. If the template does not touch the
wall, use the previous screw.
Ajuste la altura del tornillo con la
plantilla. Si la plantilla no toque la pared,
utilice lo tornillo anterior.
Réglez la hauteur de la vis à l'aide du gabarit
d'ajustage. Si le gabarit ne touche pas le
mur, servez-vous de l'ancienne vis.
4
Encaixe o cabo no engate atrás do
suporte de fixação.
Attach the cable coupling behind the frame.
Conecte el cable en la parte posterior del soporte
de montaje.
Faites passer le câble derrière le support de montage.
Instalação do acabamento
/ Escutcheon instalation / Instalación de la capa / Installation du couvercle
6
7
1º
2º
9
A parte mais alta do piloto deve ficar rente a parte fixa do
solenóide.
The highest part of the plunger should be flush with the fixed part of the
solenoid.
La mayor parte del piston debe estar al ras con la parte fija del
solenoide.
La partie la plus haute du piston doit être au ras de la partie fixe du
solénoïde.
10
11
2º
1º
5
8
Encaixe o piloto
(B) no solenóide.
Attach the plunger
(B) in the solenoid.
Conecte el piston
(B) en el solenoide.
Emboîtez le piston
(B) dans le
solénoïde.
Encaixe os conectores no alojamento
disponível no suporte de fixação.
Attach the connectors on the accommodation
available in the frame.
Coloque los conectores en los alojamientos
disponibles en el soporte de montaje.
Emboîtez les connecteurs à l'endroit prévu dans le
support de montage.
9
