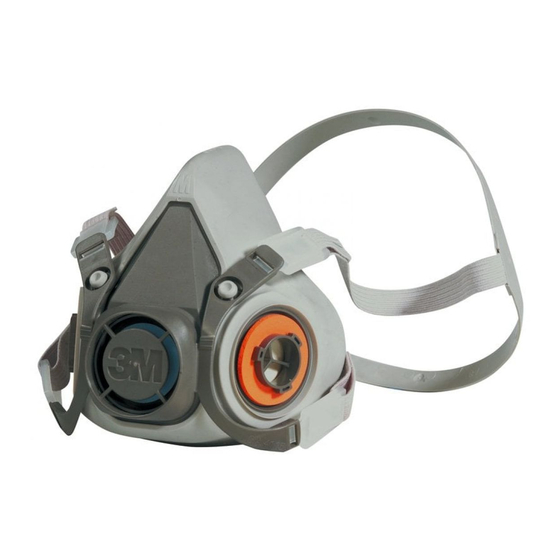
3M 604 Посібник із швидкого старту
Переглянути онлайн або завантажити pdf Посібник із швидкого старту для Респіраторний продукт 3M 604. 3M 604 2 сторінки.
Також для 3M 604: Посібник із швидкого старту (2 сторінок)

Quick Start Guide
3M
Half Facepiece Reusable Respirators 6100 (Sm)/6200 (Med)/6300 (Lg) and particulate filter
™
assembly including: 3M
3M
Filter Adapter 603. Optional 3M
™
6100/6200/6300
Notes:
• Before using these respirator systems, all users must read and understand the product User Instructions.
• Do not use with beards or other facial hair or other conditions that prevent a good seal between the face and
the faceseal of the respirator.
• Perform hand hygiene and use other applicable PPE as determined by your facility and/or infection control
policy.
Step 1: Inspection
Inspect all components according to the product User Instructions prior to each use. Check for cracks,
tears, holes, deformation or missing components.
Step 2: Filter assembly
1. Place the filter pad in the
filter retainer (501) with
the filter print facing up.
Step 3 (optional): EVF Connection to Facepiece
1. Ensure the valve
cover of the 6000
Series facepiece is
clean, uncontaminat-
ed and undamaged.
The valve cover is
on the front of the
respirator and has a
large 3M logo. There
are four breathing
slots surrounding the
logo.
N95 Particulate Filter 5N11, 3M
™
Exhalation Valve Filter 604.
™
603 (x2)
2. Snap the filter
adapter (603) into the
filter retainer (501).
3. Press the EVF
2. Align the connector
tabs and hooks on the
back of the EVF with
the breathing slots of
the valve cover.
Tip: Installing the
EVF with either hook
at the top position
may help with proper
alignment of the EVF.
Filter Retainer 501 and
™
5N11 (x2)
3. Ensure the filter seal is free from creases and gaps and
print is oriented correctly.
4. If the EVF is not
onto the valve
seated evenly on
cover. The EVF
the valve cover, as
should sit evenly on
shown above, in
the valve
Fig. 4, repeat steps
cover.
2 & 3.
February, 2021
501 (x2)
604 (Optional)
5. Slowly rotate the
EVF clockwise until
rotation stops. Pull
outward lightly on
the EVF to confirm
a complete
connection.
