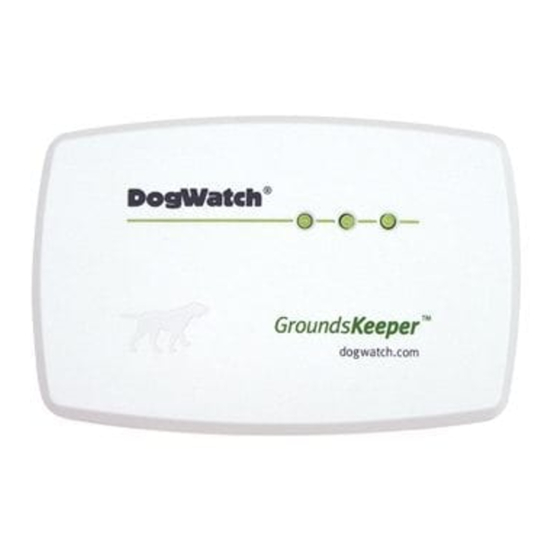
DogWatch GroundsKeeper Інструкція з експлуатації Посібник з експлуатації - Сторінка 3
Переглянути онлайн або завантажити pdf Інструкція з експлуатації Посібник з експлуатації для Засіб для догляду за домашніми тваринами DogWatch GroundsKeeper. DogWatch GroundsKeeper 8 сторінок.

Features
Ground Connection. The green ground wire from the power supply
is plugged into the transmitter at the location labeled "GND". The
ground will only be effective if your outlet is properly grounded. If
you have any questions about a properly grounded outlet, consult
your electrician.
Wire Connections. In order for the system to work properly, the
boundary wire must form a continuous loop. Strip and connect
one end of the boundary wire to one of the terminal connections
labeled "WIRE". After you create your boundary area, twist the two
wires together as you proceed from the boundary area back to the
transmitter. Twisting the two wires together eliminates the radio
signal in that section of the wire (see Figures 1 and 2). Now strip
and connect the other end of your wire to the other terminal. Any
break in the wire will cancel the signal field. If the boundary wire is
broken or the system is unplugged, the green lights(s) will go out
and an audible warning will sound.
Range. The transmitter emits a coded radio signal through up to 500
feet of boundary wire. You can adjust the distance that the signal
radiates off the boundary wire by turning the knob labeled "- +" with
a common screwdriver. To increase"+" the range, turn clockwise. To
to decrease "-" the range, turn counter clockwise. Always test the
signal field before allowing your pet near the avoidance area. Never
adjust the transmitter while your pet is wearing the receiver collar.
Indicator Lights and Break Alert. After your boundary wire and
power supply have been properly connected to the transmitter, the
green indicator light(s) on the front of the GroundsKeeper will go on.
The two additional lights will go on as you increase the range.
Power. Plug the power supply into the transmitter jack labeled PWR".
Note: On the back of the transmitter Is a small switch. This switch
sets your transmitter to the correct broadcast frequency. Your dealer
will set this switch for your system. Do NOT change this setting. It is
for DEALER USE ONLY
