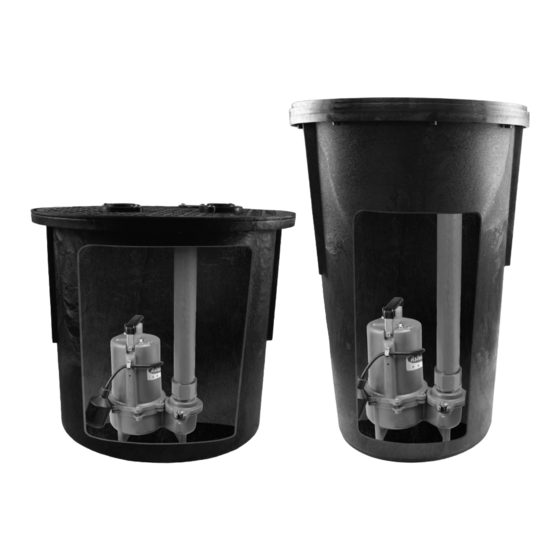
Ashland Pump SW40WB2424 Посібник з експлуатації, продуктивності та технічних характеристик - Сторінка 4
Переглянути онлайн або завантажити pdf Посібник з експлуатації, продуктивності та технічних характеристик для Водяний насос Ashland Pump SW40WB2424. Ashland Pump SW40WB2424 8 сторінок. Pre-plumbed sewage basin system

1. Preparing the Basin for Installation
• Remove the basin cover by removing the basin cover
fasteners. Remove the package containing the inlet hub
(D), check valve (C) and cord grommet (B).
• Remove the pump power cord and float switch cord (if
necessary) from the inside of the basin, removing all slack
from the cord(s). Ensure the cord(s) are not tangled around
the pump or float switch. Verify the float switch is able to
move freely.
• Feed the cord(s) through the cord grommet hole (4) on
the basin cover, place the cover on the basin ensuring the
discharge flange and the discharge piping are in the
correct orientation.
• Press each cord through the slit and into the hole on the
cord grommet (B), 2 hole cord grommet for pumps with a
float cord and a 1 hole grommet for 1 cord systems. Press
the grommet (B) into the grommet hole (4) to provide a
tight seal.
• Secure the basin cover onto the basin with the basin cover
fasteners removed in the first step.
2. Preparing the installation location
• Excavate a hole large enough to accommodate the
basin (A), backfill material (1) and inlet piping (2).
• Add 4 – 6 in. of clean sub-base material or concrete
(3) to the bottom of the hole.
• Assure that it is level, compacted, and smooth.
• Place the basin (A) in the hole and ensure that it
is level.
3. Connecting the inlet piping
• Connect the inlet piping (1) as required by code
using the 4 in. snap-in inlet hub (D). Hand-Tighten
the hose clamp.
• Carefully backfill with naturally rounded gravel or
stone, larger than 3/8 in. and smaller than 3/4 in.
diameter,around the periphery of the basin (A).
Please contact 1-855-281-6830 for further assistance
Installation
ashlandpump.com
4
