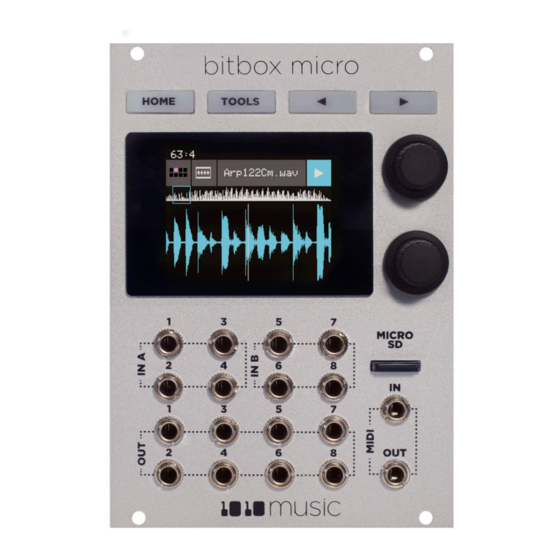
1010music Bitbox Micro 1.0 Посібник із швидкого старту - Сторінка 2
Переглянути онлайн або завантажити pdf Посібник із швидкого старту для Синтезатор 1010music Bitbox Micro 1.0. 1010music Bitbox Micro 1.0 2 сторінки.

Pads
When you push the HOME button, bitbox micro displays the Pads screen with the grid of 8 pads. The name of the current preset is
displayed at the top of the screen. The grid labels show you abbreviated names for the WAV files loaded into the pads. The pink pad is
selected. The top left corner displays the clock in measure : beat format. A blue bar at the bottom of the pad shows the play progress.
A white bar here shows that a pad is armed and waiting for the quantization break to start playing. Bitbox micro supports the following
pad modes:
Icon
Pad Mode
Sample
Sample –
multi-sample
mode
Clip
Slicer
Granular
New Rec
New Multi
To Play Pads:
There are three basic ways to trigger playback of a pad:
1.
Touch a pad to play the corresponding WAV file.
2.
Plug a gate signal into the corresponding input jack sockets. The array of input jacks map 1:1 to the array of pads on screen.
3.
Plug a MIDI controller into the MIDI input jack socket and play MIDI notes. The pads respond to input from MIDI channel 1 on
notes C2 (MIDI 36) through G2 (MIDI 43) by default.
To Load and Configure a Pad:
1.
Select an empty pad by touching it or turning a knob. Then push the
2.
Touch Load to display the WAV file selection screen.
3.
Turn a knob to select a file or directory then touch Load to load a file or drill into a directory. Touch the Play button at the top of
the screen to toggle previewing. When a file is loaded, the Waveform screen is displayed.
4.
Touch the Pad Mode icon to the left of the WAV file name at the top of the screen to display the Pad mode menu. Touch an
option to select it. The icon changes to represent the selected pad mode.
5.
Press the
button to display the Parameters screen. Turn the top knob to select a parameter, then
turn the bottom knob to choose a value for the parameter. Push
options for some parameters.
To Record a WAV File:
1.
Push Tools twice to go to the Input screen.
2.
Turn the bottom knob with input 1 selected to choose Audio. Repeat for input 2.
3.
Push Home. Select an empty pad and press the
4.
Use the knobs to select parameters and assign values.
5.
Plug the recording source into the selected Input.
6.
Touch the Rec button. Bitbox micro will start recording. The timing of the recording can be synchronized with the clock by using
the Rec Quant parameter. Recording will start when a signal is received if you set the Threshold parameter to On.
7.
Touch the Stop button to end recording. If you configured a recording length, bitbox micro will stop recording when the target
length is reached. The file will be saved in a folder with the same name as the preset under the \Presets folder on the microSD
card.
To Clear a Pad
1.
Select a loaded pad and push the
name at the top of the screen and then touch New Rec. You will now see the Load and Record screen.
Page 2 of 2
28 April 2020
Description
Use to play single notes or drum hits.
Spread a list of wav files across the keyboard to get more realistic
instrument pitch shifting or to map different sounds to each key on
the keyboard.
Use for synchronized loops and quantized playback, e.g. drum loops
and guitar tracks between one and eight measures long.
Use with a WAV file with different sections that you want to trigger
independently.
Generate new sounds from your samples. The sample is played
back in small portions about 10 to 200ms in length, called grains.
Use to start recording a new WAV file or clear a WAV from a pad.
Use to start recording a new set of WAVs for use in multi-sampling.
button to display the Load and Record screen.
button to display the Waveform screen. Touch the Pad Mode icon to the left of the WAV file
button to see the Load and Record screen.
again to access modulation
Reverse
Quantize
Set
Playback
Loop
Points
Pad Parameters Screen
Copyright 1010music LLC 2020
Play
Slices
