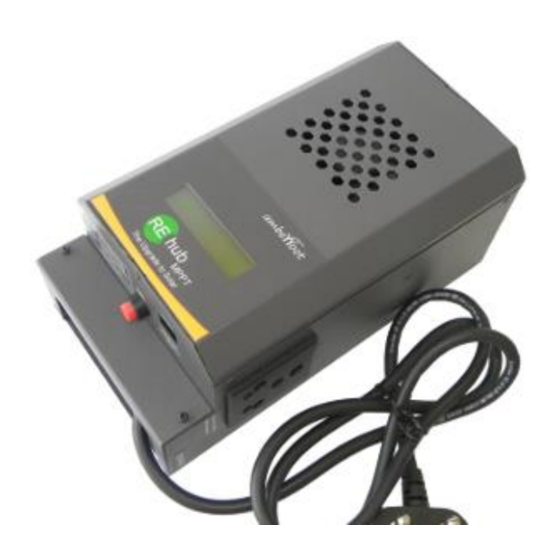
amberroot REhub 12/24-40 Посібник користувача - Сторінка 7
Переглянути онлайн або завантажити pdf Посібник користувача для Зарядний пристрій amberroot REhub 12/24-40. amberroot REhub 12/24-40 17 сторінок. Solar mppt charger for upgrading inverters

4.2.2 Parallel connection of Solar PV string
To get the required charging power, 2 or more strings are usually to be connected in
parallel. Each string connected in parallel must be composed by the same number of
modules of the same type.
The number of strings connected in parallel
depends on the Isc of each string. The Isc of the
array must be < 30A for REhub MPPT, 40A
Version. When you need to determine the Isc of
the parallel array, it is the Isc of each panel
multiplied by the number of parallel strings. For
example, if the Isc of the panels used in the
system is 4A. The maximum number of Parallel
strings → 30A/4A =7.5: Round down to the lower
value → 7 Parallel strings.
The total power of the array can be slightly higher
than rated power of REhub. This excess capacity
is designed in to get the desired charging power
under all
circumstances of Solar radiation.
However, the output current from REhub will be
limited to the maximum rated current. (This is
40A in REhub-12/24-40 models)
4.3 Cable Size
Based on Array arrangement, calculate INPUT
current. Choose the appropriate cable size for
INPUT current based on the length of the cable
from the PV panels to REhub. REhub must be
located close to the Batteries. Connect the PV
+Ve to Terminal [2] and connect PV -Ve to
Terminal [1].
4.4 Battery Connection
REhub monitors the net current delivered to the
Batteries. REhub is by default configured to
allow a maximum of 18A net current into the
batteries. What this means is that the sum of the
negative currents (currents drawn by the loads)
and the positive currents (currents delivered by
Solar PV and Inverter) will be not more than 18A.
This is ideal for Battery size of 150Ah – typical
home back up Batteries. This value can be
changed
through
available
for
purchase).
connections
to
the
Connections [2] and [4] deliver the Solar charge
to the batteries. Connections [3] is to monitor the
battery currents. The existing Inverter battery -
Ve connection to battery must be disconnected
and connected to REhub terminal [3]. Keep the
Inverter in switched off / Away mode till you are
ready with all connections. Do not close the
Battery connections till you are ready for POWER
UP.
7
Amberlink.
(separately
There
are
batteries
from
REhub.
Ver 7.0
Check to make sure LINE &
Neutral are NOT Swapped
Sometimes the LINE and Neutral is
swapped between the Input wire of the
Inverter and the Output Load socket.
Even with the swap prior to the
installation of REhub, the problem is
not seen because the Inverter delivers
output from the batteries only when
the Mains are not available. So, a Line-
Neutral swap from input to output is
not noticed
However when the Inverter's Mains
input is connected to REhub with the
LINE – Neutral swapped between AC
input and output Load and when
REhub forcibly switches off the MAINS
input to the Inverter (even when
MAINS power is available in the
daytime when Solar is available), the
Output Load may get dangerously
high voltage, because the Inverter is
delivering output from the Batteries
and the MAINS is also available.
Sometimes,
connected to the Live input of REhub.
REhub operates by switching off the
Mains input to the Inverter. This
operation will not happen if the
Neutral is connected to the Live input
of REhub because the relay then is
two
switching ON or OFF the Neutral line
and not the LIVE!
Always make sure that the Input to
Output LIVE pins have continuity and
that LIVE and Neutral are not swapped
in the Inverter.
the
Neutral
wire
User Manual
is
