Ambient NanoLockit Посібник із швидкого старту - Сторінка 3

Переглянути онлайн або завантажити pdf Посібник із швидкого старту для Обладнання для запису Ambient NanoLockit. Ambient NanoLockit 5 сторінок. Timecode + logging
Також для Ambient NanoLockit: Посібник із швидкого старту (2 сторінок), Посібник із швидкого старту (2 сторінок), Посібник з швидкого запуску (20 сторінок), Посібник (4 сторінок), Навчальний посібник (5 сторінок), Короткий посібник (2 сторінок), Посібник (19 сторінок)
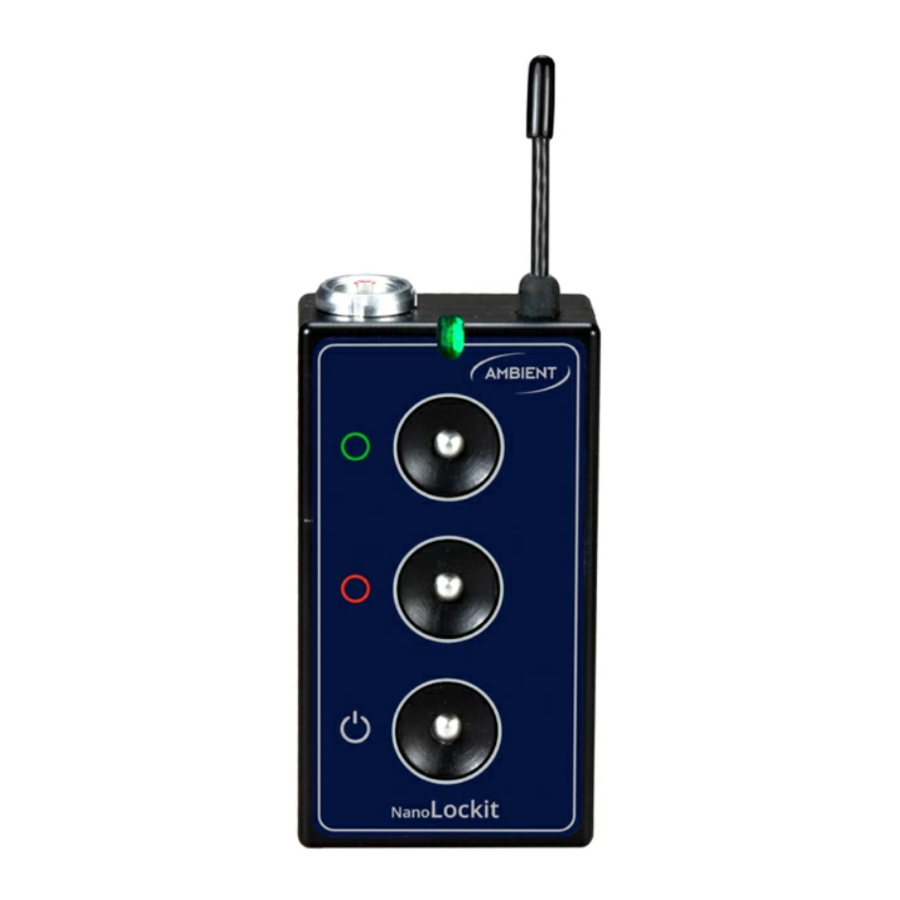
Ambient NanoLockit Посібник із швидкого старту
But before we can connect the NanoLockit, we need to set up the camera
for use with an external timecode device.
The NanoLockit then will take over the
audio recorders timecode and frame
rate.
The LED flashes indicating it is ready to
timecode sync another device.
First we need to adjust the Project Frame
Rate.
To do so, press „Menu", then „Settings",
„Project" and „Frame Rate".
Make sure to select the correct project
frame rate for your upcoming project –
and do not change it.
Now let us enter the timecode menu
and adjust the camera to accept free-run
timecode from an external source.
Click TOD, which is Time of Day, and se-
lect „External" as the source.