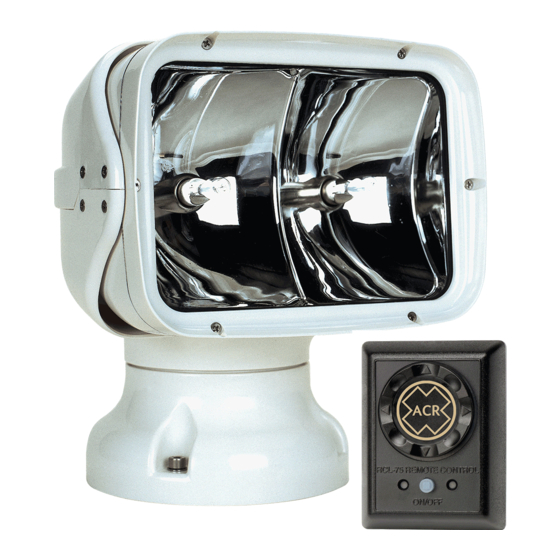
ACR Electronics RCL-75 Посібник з підтримки продукту - Сторінка 7
Переглянути онлайн або завантажити pdf Посібник з підтримки продукту для Прожектор ACR Electronics RCL-75. ACR Electronics RCL-75 15 сторінок. Remote control searchlight system
Також для ACR Electronics RCL-75: Посібник з підтримки продукту (20 сторінок), Посібник з підтримки продукту (20 сторінок)

Depending on the location selected, your light will need 1/4" diameter stainless steel bolts,
nuts, and washers. If mounting area is robust enough panhead lag screws may be used. If the
surface area can be reached from the under side, through bolting with lock nuts and washers
should be used.
5.2
Tools and fasteners needed for installation
4 ea.
1/4" dia. bolts
4 ea.
Lock nuts
4 ea.
Washers
4 ea.
1/4" dia. Lag screws
1 ea.
1/4" Drill bit for bolt holes
1 ea.
17/64" Drill bit for lag screws
1 ea.
15/16" Drill bit for cable clearance
1 ea.
13/64" Drill bit for remote switch mounting bolts
1 ea.
Tube of silicone or bedding compound to close hole around cable.
Option: 1"mounting riser shapeable for irregular surfaces. (P/N 9427 - Figure 4)
Caution - Be careful when using electrical power tools around water. Electric shock
could occur.
5.3
Mounting the Remote Control Point Pad™
The Point Pad™ should be located within reach of the helm station. Point Pad™ has two
mounting options. Flush mount and Surface mount.(see Figures 6 & 7) Both mounting options
require access to the backside of the mounting location. (see Templates – Y1-03-0158-1) Make
sure there are no obstructions behind the area where the switch is to be located. (i.e. bulkheads,
wires, plumbing, hardware.) Check in advance to verify the wiring harness can be routed to this
location. Use Templates for hole pattern.
5.3.1 Surface Preparation for Remote Control Point Pad™
Make sure area is clean and dry. Mark hole locations for drilling. Verify that drill hole
will not impact or harm other items (wires, plumbing, hardware bulkhead).
5.4
Mounting the Light
Remove deck mounting plate from light base (4 Allen bolts). Save the bolts and washers.
Locate the mounting plate on the spot that you want your light. Rotate the plate so that the
arrows are pointing forward and the length of the arrow is aligned parallel to the keel. Mark
the 4 mounting holes, starting with the one between the 2 arrows. Mounting holes are in 90°
increments. (See template Y1-03-0158-1)
and
and
or
or
5
Y1-03-0158 Rev. D
