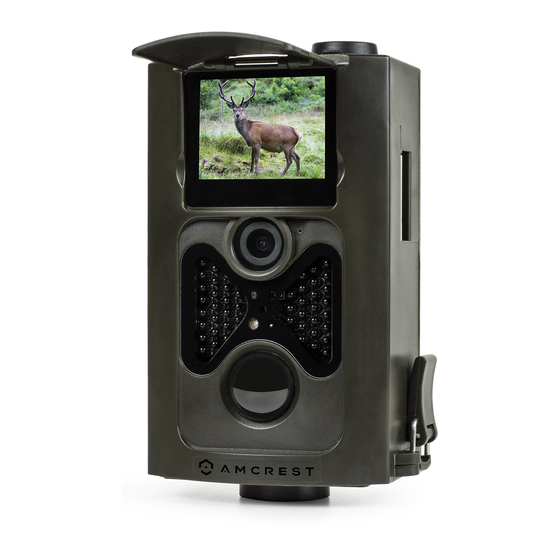
Amcrest ATC-801 Benutzerhandbuch - Seite 14
Blättern Sie online oder laden Sie pdf Benutzerhandbuch für Digitalkamera Amcrest ATC-801 herunter. Amcrest ATC-801 15 Seiten. Digital game & trail hunting camera

e) Press OK to delete the image or video.
Press Cancel to cancel. Then press MENU then OK to return to info display.
Please note that after deleting a picture or a video file, the deleted files cannot be
restored. Furthermore, in order to delete all the images and video clips in the SD-card, it
is suggested to format the SD-card through the settings menu.
4.3 Laser Pointer
The laser pointer is especially useful when it is somewhat dark as an additional
function for pointing to an object or a certain region of interest.
Press * to turn on the laser light in TEST mode and use the tilt adjuster on the back
of the camera to adjust the angle for taking photos/videos.
NOTE: The laser pointer can be harmful to an individual's eyes, therefore please avoid
pointing the laser pointer at other individuals.
4.4 File Numbering
Images and videos are saved as DCIM (Digital Camera Images) separately saved in a
pre-named folder (100MEDIA). File number increases as new photos or videos are taken.
The file name is similar to PTDC0001.JPG or PTDC0001.AVI. Through the suffix you can
distinguish whether the file is an image (with suffix.jpg) or a video (with suffix.avi).
4.5 Firmware Upgrade
This camera is equipped with an automatic firmware upgrade function. Upgrading is
needed only when an improved firmware is available. To update firmware, follow the
below steps:
1. Unzip the update file.
2. Copy the FW18NA.bin to an SD card.
3. Insert the SD card into the camera.
4. Power on the camera into Test Mode.
5. The camera will read the SD card and update itself automatically. When updating
the camera, the screen will be black.
6. The screen will light up after the update is finished.
7. Turn the camera off.
8. Remove the SD card, then insert it into a pc, and delete the FW18NA.bin file on
the SD card. (If you don't do this, the camera will try to update again when it is powered
on.)
9. Insert the SD card into the camera like normal. The camera should have the latest
firmware installed at this point.
12
