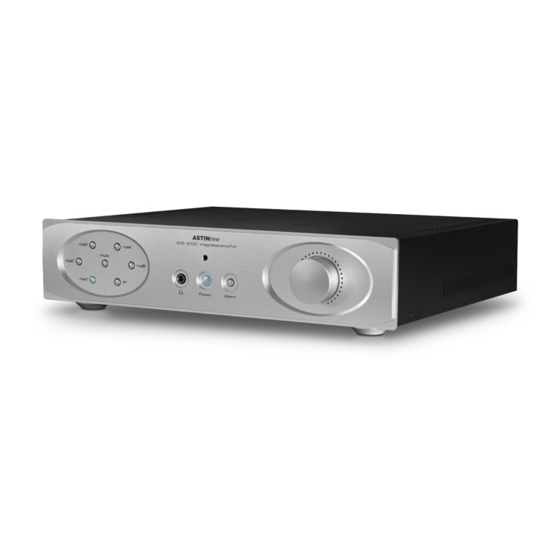
Astin Trew AT2-2100 Ihr persönliches Benutzerhandbuch - Seite 5
Blättern Sie online oder laden Sie pdf Ihr persönliches Benutzerhandbuch für Verstärken Astin Trew AT2-2100 herunter. Astin Trew AT2-2100 12 Seiten.

3. Getting started, Unpacking, location
and power/signal connections
Be careful when unpacking, do not use a long-bladed knife to cut through the box
sealing tape, and keep the packing for any future transportation. In the box, you
will find a mains cable to suit your country, a remote control unit and batteries, the
operation manual; and the AT2-2100 in its protective bag.
Position for use: The AT2-2100 casework does become warm to the touch in
normal operation. It is therefore essential that the unit has adequate ventilation
around it, a minimum of 50mm open ventilation all round. Do not place on a carpet
or any surface that will reduce ventilation through slots in the base chassis. Do not
place in direct sunlight or directly above or near other hot equipment or heaters, or
place in an enclosed air space such as a cupboard. If it does overheat, it will turn off
automatically. Once cooled down, it will re-set and start again.
Do not site near or below any liquids that could spill onto your AT2-2100. If any
liquids do come in contact with the unit, turn the mains power off at the wall switch
immediately and pull plug out of the wall socket, as there is serious potential for
electric shock or fire hazard. In the unfortunate event of liquid ingress, take the AT2-
2100 to your Dealer for inspection and he can advise on any further action required.
Position the AT2-2100 for use on a smooth and flat surface. Placing on a specialist
audio isolation stand or shelf may well bring further benefits to the sound qualities
achievable, some experimentation is recommended.
Connecting your AT2-2100: Before connecting any inputs/outputs, it is good
practice to switch off all associated equipment that will be connected to the unit.
There are 6 input (L/R pair) connections – all six can be connected at the same time,
but only one will be selected at any time from the six selection switches on the left-
hand side of the front fascia or your remote control, shown as inputs 1,2,3,4,5 and 6.
Inputs 1-5 are RCA input connections; input 6 is an XLR balanced signal input.
Outputs: There is one RCA (L/R pair) pre-amplifier output, it is volume controlled.
A 'mono-summed' RCA active sub output, offering the correct impedance to optimise
any active sub-bass input.
5
AT2-2100 V1.0/17.01.2018
