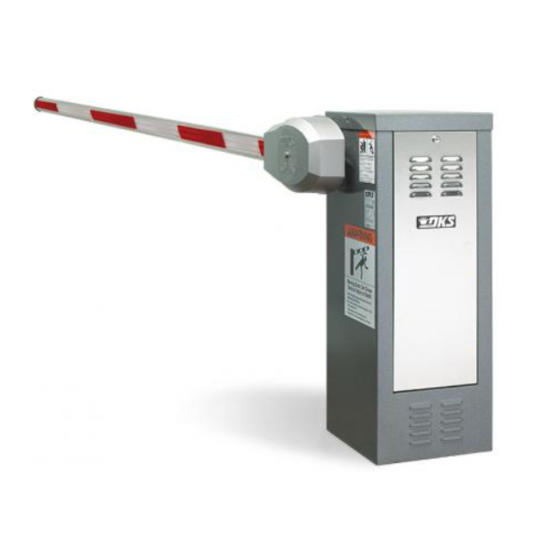
DoorKing 1601 Series Installationshandbuch - Seite 11
Blättern Sie online oder laden Sie pdf Installationshandbuch für Automatische Schranken DoorKing 1601 Series herunter. DoorKing 1601 Series 11 Seiten. Break-away octagon arm installation kit
Auch für DoorKing 1601 Series: Benutzerhandbuch (8 seiten), Handbuch (5 seiten)

RUBBER BUMPER INSTALLATION
This rubber bumper is designed to install on a 14 ft aluminum octagon arm (not included) for a 1601 barrier gate operator.
It CANNOT be used with a 1602 or 1603 operators.
Installation
2
Slide on Rubber Bumper
The 3" trim end MUST side on first and the end
fits into the cover, see cover illustration.
Tip: Liquid soap will help rubber bumper
slide on easier.
Reinstall End Cap
3
Push a screwdriver through the hole in cap to release
spring while pushing cap on. Keep pushing cap on
until a "CLICK" is heard which locks it in place.
1601-269-G-7-21
1
Remove End Cap
Push a screwdriver through hole in bottom of end cap
to release spring while pulling cap off.
11
DoorKing Part Number
8080-089
Octagon Arm
Rubber Bumper
Cover
3" Trim End
Rubber Bumper
3" trim end MUST slide
on as shown.
120 S. Glasgow Avenue
Inglewood, California 90301
3" Trim End
U.S.A.
