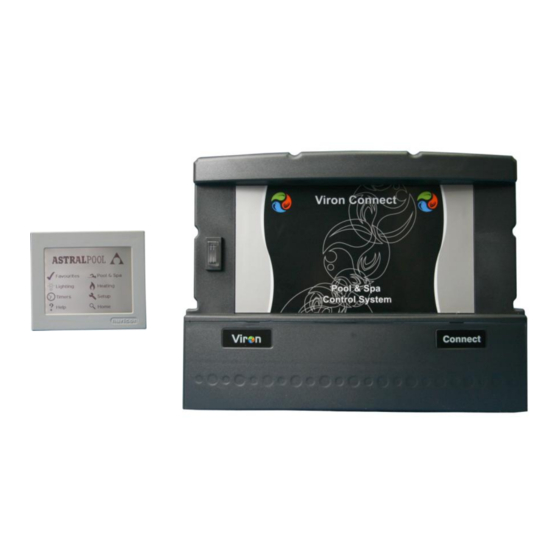
Astrapool Viron Installations- und Betriebsanleitung - Seite 6
Blättern Sie online oder laden Sie pdf Installations- und Betriebsanleitung für Controller Astrapool Viron herunter. Astrapool Viron 20 Seiten. Connect pool and spa controller

e. USE SEPARATE POOL AND SPA MODES
i. If you have both a pool and spa connected on the one system, select YES. This will allow
ii. Select NEXT
f.
CHANNEL 1
i. Select use for channel 1 on the Viron Connect. Options are Unused, Lighting or Pool
ii. If you select Pool Equipment, you will be prompted to choose the purpose of the
iii. If Filter Pump is assigned to this channel, you will be asked if you have a Viron 3 speed
iv. If you select Lighting, you will be prompted to select one of the lighting zones set up
v. Select NEXT
g. CHANNEL 2 thru 8
i.
h. IS CLEANING INTERLOCK REQUIRED?
i. If you have infloor cleaning installed into your swimming pool or have a pressure cleaner,
i.
IS HEAT DEMAND REQUIRED?
i. This feature will activate the main filtration or heating pump for a 3 minute period each
j.
SUMMARY
i.
k. Select the MENU icon to return to the main menu.
Inst 276 - Viron Connect Pool & Spa Controller V0610
for the operation of motorized valves
Equipment.
equipment connected to this channel (i.e. Filter Pump, Waterfall, Blower, etc)
pump on the system. If YES is selected, you will then be prompted to select the default
operating speed. For most applications either Low or Medium should be selected.
earlier in the installation.
Repeat steps as per CHANNEL 1
this can be linked to the main filtration pump to ensure they operate together. For this
feature to work, you must have nominated one of the channels earlier as CLEANING.
hour. During this time, the heater will sample the pool water to see if it is above or below
the set point. If the water has fallen below the set point, the heater will activate and keep
running until the water reaches the desired setting. Both the heater and pump will then
switch off.
A summary of settings will be displayed. You can accept by pressing EXIT, or make
alterations by pressing CHANGE
6
