Drytac HOT PRESS HGP360 Benutzerhandbuch - Seite 7
Blättern Sie online oder laden Sie pdf Benutzerhandbuch für Elektrowerkzeug Drytac HOT PRESS HGP360 herunter. Drytac HOT PRESS HGP360 19 Seiten. Heated glass top vacuum press
Auch für Drytac HOT PRESS HGP360: Benutzerhandbuch (19 seiten)

HOT PRESS USERS MANUAL
MAIN CONTROLS
Initial Test
Verify that both of the circuit breakers on the rear panel of the press are
in the ON position (levers pointing to the right). Check that the Auto/
Manual
Manual switch located on the front panel is in the AUTO position, and
Manual switch located on the front panel is in the AUTO position, and
that the power switch is in the OFF position. Connect the power cord
to the electrical outlet. Remove any materials from inside the press,
then close and latch the lid. Turn the Pressure Adjustment Knob fully
clockwise (maximum vacuum).
Turn on the power switch on the front of the press. The displays on
the Timer and
Timer and
Timer
Temperature controllers should light up. The Timer will
normally indicate 2:00 and the temperature controller will indicate
room temperature. Within a minute or so, it will start to increase. After
about 15 minutes, the temperature should reach the setting that was
preset at the factory, normally 194°F (90°C).
Now press the Start button on the timer (the one in the upper right
corner). The vacuum pump should start, and the timer should begin to
count down. Within a few seconds, the pointer on the vacuum gauge
should start to move. Within 30 seconds, the reading should be steady
at 25" or higher.
When the timer reaches zero, the pump should automatically cut off,
and the vacuum should automatically be released. Check the vacuum
gauge, which should now be back at a zero reading.
Refer to the Troubleshooting section (pages 15-16) of this manual if
the equipment does not function as described above, or contact Drytac
for assistance.
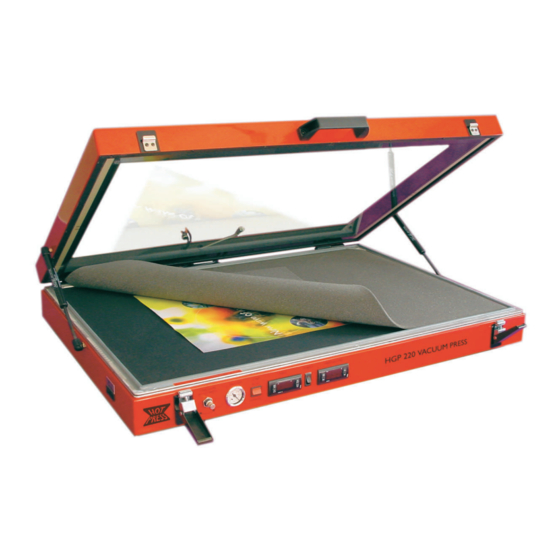
ILLUSTRATION 7A: MAIN CONTROLS
PRESSURE ADJUSTMENT KNOB
Adjusts pressure for applications such as
mounting onto foam boards.
VACUUM PRESSURE GAUGE
Indicates actual vacuum pressure. A
normal reading is 25" or higher (with
the variable pressure adjustment set to
maximum).
AUTO / MANUAL SWITCH
Acts as a simple On/Off switch for the
pump if you do not need to use the Timer.
TIMER CONTROL
Controls the vacuum pump and pressure
release valve. At the end of the preset
cycle, the pump will turn off and the
vacuum will be automatically released.
POWER SWITCH
Switches on the heating system and the
timer.
TEMPERATURE CONTROLLER
Indicates the actual glass temperature
and maintains the temperature at your
chosen preset level.
Illustration 7B: Press Start button to
begin initial test.
7
Press Set Up
