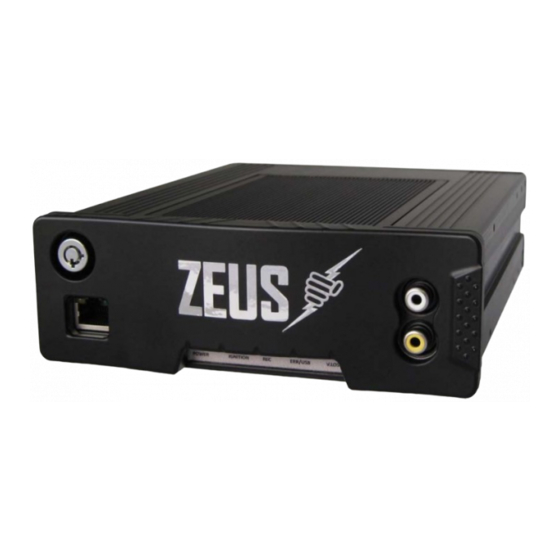
247Security Zeus-W Kurzanleitung - Seite 3
Blättern Sie online oder laden Sie pdf Kurzanleitung für DVR 247Security Zeus-W herunter. 247Security Zeus-W 13 Seiten.

The installation of your digital video recorder and components is comprised of the
following five steps:
1. DVR and Camera Placement
2. Cables
3. Connections and On-site Preparations
4. Equipment Test
5. DVRViewer Application and Camera Aiming
1. DVR AND CAMERA PLACEMENT
DVR
The first step is to determine the most appropriate location for the DVR and cameras. Mounting locations will vary
depending on the bus style, body manufacturer and bus year. Mounting orientation can be horizontal, vertical, or at
angles for spatial consideration. Mount the DVR through the affixed mounting base and ensure there is sufficient
space in front and around the DVR for ventilation, free movement on the mounting plate and for easy removal of the
hard drive—approximately 7 inches so the door can open freely. Recommended installation locations include: inside
the front bulkhead, behind the driver's mirror or other locations where moisture and possible tampering will be at a
minimum.
CAMERAS
Cameras are available in many different lens sizes and most are mounted on an X-Y-Z axis so you adjust the image
to look horizontal even if the camera is mounted on the curve of the ceiling, as is convenient to avoid being a
headroom hazard to occupants. A minimum 1.5 inch hole is recommended for camera mounting and safe cable
pass through. Avoid installing cameras to sections of the ceiling that are exposed to, or are leaking, water.
2. CABLES
All cables for the installation and maintenance of your DVR system are included and consist of the following:
Camera Cable
(One per Camera)
247Security Inc. | 4400 North Point Parkway, Suite # 158, Alpharetta, GA 30022, USA | 1-866-693-7492 | www.247securityinc.com
Cables for Installation
Event Marker
Power Cable
USERS MANUAL
ZEUS mDVR
Digital I/O Cable
2
GPS Receiver
Module (Optional)
