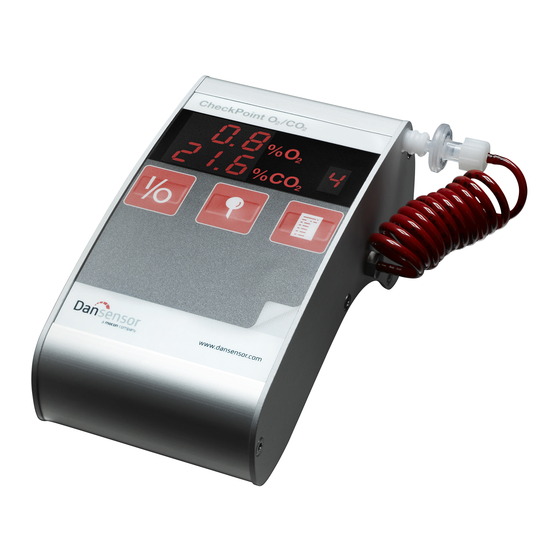
Dansensor CheckPoint O2 Benutzerhandbuch - Seite 6
Blättern Sie online oder laden Sie pdf Benutzerhandbuch für Messgeräte Dansensor CheckPoint O2 herunter. Dansensor CheckPoint O2 11 Seiten.

CheckPoint O
2
EN
Safety precautions
WARNING!
Due to safety considerations the
needle (5) + (12) should always be
placed in the retainer on the CheckPoint unit
after measuring.
Use only the original external power supply
unit / charger when connecting to mains.
Using the wrong type can destroy the
CheckPoint unit. Use only the specified
battery type or an original rechargeable
battery pack.
If rechargeable batteries have been installed
in the CheckPoint, they must not be replaced
by ordinary batteries.
CheckPoint should be cleaned with a mild
detergent solution.
Operation
Start-up (1)
Press the key to switch on the CheckPoint.
When the CheckPoint switches on, the version
number of the installed software is shown briefly,
followed by the result of the latest measurement
(4).
Start/Stop measuring (2)
Press
to start measuring. The built-in pump
starts to suck measuring gas through the needle.
The pump stops after 15 seconds, and the result
is shown.
Extended measuring
If a measuring period of more than 15 seconds is
required, it can be extended by pressing
before the current measurement is complete.
Each time you press
period is started.
Reduced measuring time
The measuring period can be reduced by
pressing while measuring is in progress.
Dansensor A/S
, a 15 second measuring
COPYRIGHT ©
EN
Memory function
CheckPoint remembers up to 10 measurements,
including the latest one. The small display (6)
shows the number of measured values stored. If
the display is off, 9 measurements and the latest
one are stored.
Clear memory
If the memory is full, it must be cleared before
new values can be stored. Press and keep it
down. After 2 seconds the memory is cleared,
and "0" is shown in the display (6), indicating
that the memory is empty.
Show collected measurements
Press , and the first collected measurement is
shown. Press again to show subsequently
collected measurements. While measurement
values are being shown, the display (6) flashes,
indicating the number of the collected
measurement. To leave the display of collected
measurements, press until all measurements
have been shown, or press to return directly
to the latest measurement. The display (6) stops
flashing when you leave the "show collected
measurements" function.
Replace collected measurement with new
measurement
When showing the collected measurements (the
display (6) is flashing), the measurement shown
can be overwritten by a new measurement. While
the collected measurement is shown, press
start measuring. After measuring, the
measurement is stored in the memory location
shown.
User Guide
PBI-320297-B 02/2014
11
to
