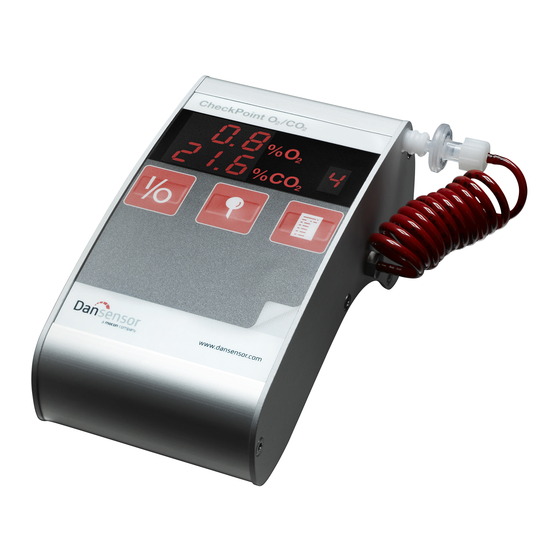
Dansensor CheckPoint O2 Benutzerhandbuch - Seite 9
Blättern Sie online oder laden Sie pdf Benutzerhandbuch für Messgeräte Dansensor CheckPoint O2 herunter. Dansensor CheckPoint O2 11 Seiten.

14
User Guide
Moving the measuring hose inlet
Any technically gifted user can convert the unit
from a right-handed into a left-handed model and
vice versa.
Note: Handle the sensitive internal mechanical
and electronic components with care when
converting the unit.
Do as follows to convert the CheckPoint from a
right-handed model into a left-handed model or
vice versa:
1. Remove the two side plates (10) and the
battery cover (7).
2. Remove the needle retainer (8).
3. Switch the gas in and gas out screw joints (9)
without dismounting the hoses (remember to
fasten the joints using a tool)
4. Mount the side plates (7) and (10), starting
with the right-hand plate (be careful not to
squeeze the hoses)
5. Mount the needle retainer (9) in the opposite
side, and press it down until flush with the
side plate
6. Test/control: Switch on the CheckPoint, and
start measuring with atmospheric air (20.9
%). Block the gas inlet while measuring (e.g.
by removing the needle and putting your
finger on the end of the needle pen). The O
value must not increase by more than 1 %. If
this is the case, check that the hoses have
been mounted correctly in accordance with
the drawing.
PBI-320297-B 02/2014
EN
Battery replacement
When the CheckPoint using ordinary batteries
shows "Lo./BAt.", the batteries must be
replaced.
1. Unscrew the screw that secures the battery
cover (7) on the left side, and dismount the
cover.
2. Disconnect the connector (13) on the battery
pack.
3. Take out the battery pack, and replace the
batteries with 4 new alkaline batteries (type
AA).
4. Mount the battery pack again (lower/left
connector).
5. Connect the connector to the battery pack.
6. Mount the cover and screw (be careful not to
squeeze the wire)
2
COPYRIGHT ©
CheckPoint O
2
Dansensor A/S
