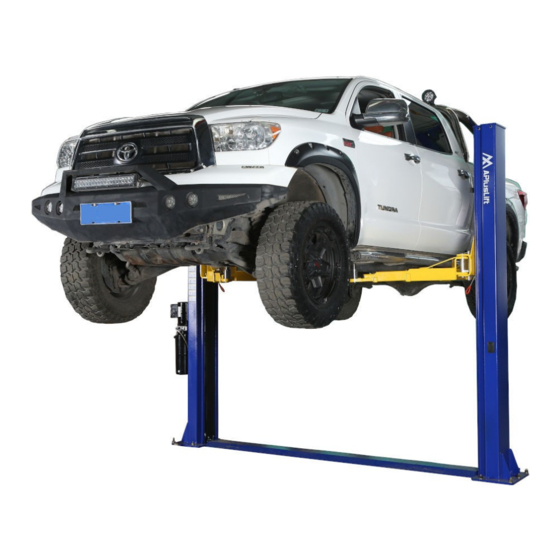
APlusLift HW-10KBP Handbuch für Installation und Betrieb - Seite 12
Blättern Sie online oder laden Sie pdf Handbuch für Installation und Betrieb für Hubsäulen APlusLift HW-10KBP herunter. APlusLift HW-10KBP 20 Seiten. 2-post floor plate car lift 10,000lb capacity
Auch für APlusLift HW-10KBP: Installationshandbuch & Betriebsanleitung (16 seiten), Handbuch für Installation und Betrieb (20 seiten)

Step 7 (Adjustment)
Cable Adjustment
Place a pair of small or medium vise grips around the shoulder of the long threaded
adjusting bolt on the cable to make any adjustments.
Use a deep socket to adjust the slack out of the cable. Adjust tension to cables
equality.
DO NOT over tighten. Note: If one of the cables is tighter than the other, the carriage
will go up uneven. These should be tightened like a Banjo String or Fan Belt.
Carriage Adjustment and Synchronization
One of the most important things to remember is not to tighten down one side more
than the other. The key is to tighten one side a half dozen turns then the opposite side
a half dozen turns. After getting both cables equally tight (YOU SHOULD BE ABLE TO
MOVE THE CABLES ABOUT AN INCH BACK AND FORTH WITH SLIGHT
PRESSURE LIKE A FAN BELT OR A BANJO STRING) raise the lift all the way up by
pressing the UP Button on the power unit. Do not bottom the lift out at the top by
holding down on the switch.
Raise the lift off the latch (lock) by pushing the power button, this will enable you to pull
each release cable ring located at the bottom of both carriages. Pull down on the
lowering valve handle (lever) on the power unit and lower the lift all the way to floor.
Raise the lift again and listen for the clicking of the safety locks in each column.
Determine which side is slower and tighten the adjusting bolt on the opposite side
carriage. Remember to only tighten a few turns at a time until the both locks click at the
same time when raising the lift. Cycle the lift up and down. Repeat the adjustment until
the carriages are within a 1/4" of each other or the clicks are almost at the same time
with each side. When cables are adjusted properly they should be fairly tight.
Safety Latch Adjustment
If the safety latch in either column does not operate. Use the following procedure to
adjust it.
◦ DO NOT set lift on safety latch for this adjustment. Allow the hydraulic system to
hold the lift during the adjustment. DO NOT put a vehicle on the lift
◦ Remove the plastic cover. Raise the lift until you can see the latch through the
access hole on the column.
◦ Locate the latch
◦ If the latch is not working during descent, loosen the adjustment bolt one full turn.
Test the latch and follow this procedure until the latch operates.
◦ If the latch is not working during ascent, tighten the adjustment bolt one full turn.
Test the latch and follow this procedure until the latch operates.
12
