Apogee QUICK DRAW Handbuch - Seite 6
Blättern Sie online oder laden Sie pdf Handbuch für Spielzeug Apogee QUICK DRAW herunter. Apogee QUICK DRAW 12 Seiten.

30. Cut the provided string into four equal lengths by
folding in half twice (as shown). Tie the shroud lines to
the ring holes. Place a small amount of glue on each of
the knots to keep them from coming untied and set the
parachute aside to dry.
31. Once dry, place the parachute top down and lift the
shroud lines one at a time near the center and stack them
together over a finger, making sure that they are well
organized. Pull the parachute at the center to tighten the
lines and even them out. Thread the four looped ends
through the bulkhead loop on the forward section. Pass
the center of the parachute back through the shroud line
ends and then pull the parachute to tighten the knot.
Finishing
32. Once completely dry, fill and sand any particularly
rough sections of the surface. Spray a coat of primer
over the entire rocket. When painting the Quick Draw,
take care to avoid getting paint in the rear of the rocket
to avoid fit problems with removable mounts. Sand the
primer entirely before applying color coats.
33. Allow the final coat of paint to harden for at least a full
day (24 hours) before applying the vinyl decals. To allow
easy repositioning, the decals can be dipped in soapy
water (after removing the paper backing) prior to placing
on the rocket. While positioning, keep the decal wet.
Once it is in the correct location, press it down firmly and
squeegee out any water underneath. When the decal
dries, it will be permanently affixed to the rocket.
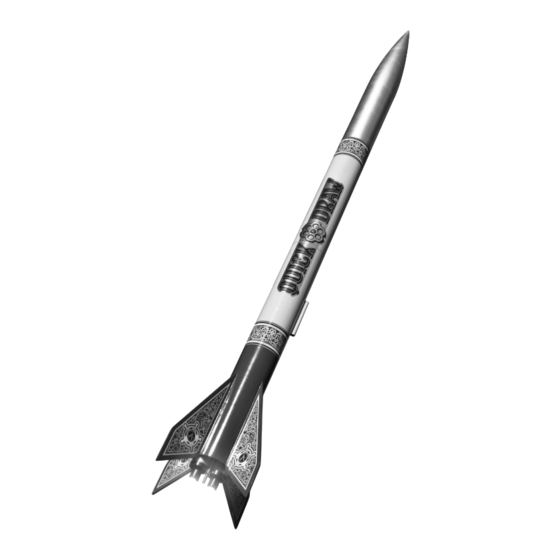
34. Congratulations, your Quick Draw is now complete.
Once the removable mounts are built, it'll be ready to fly!
Building the Removable Mounts
Building the Removable Mounts
1x29mm Removable Mount
1-1. (Optional) Harden 1/4" (6 mm) of the end of the motor
mount tube by saturating the inside with thin CyA glue.
This makes it less prone to damage. This will be the aft
end of the tube.
Page 6
Instructions P/N 31250
Step 30
Shroud lines
through loop
Step 31
Step 32
Step 33
Step 34
Step 1-1
Pass parachute
back through the
shroud lines
Pull tight
