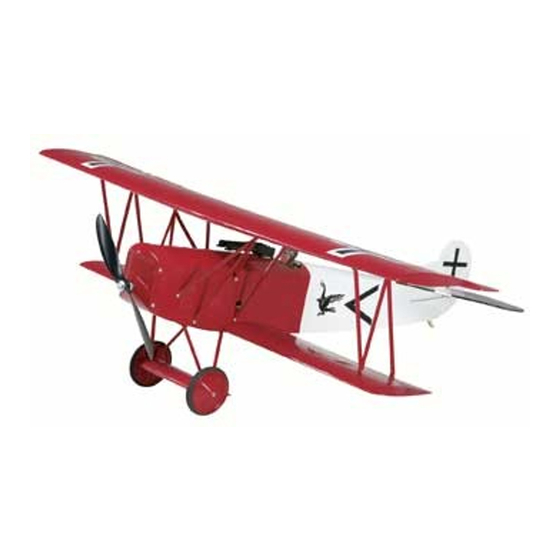
GREAT PLANES Fokker D.VII ARF ElectriFly Gebrauchsanweisung - Seite 11
Blättern Sie online oder laden Sie pdf Gebrauchsanweisung für Spielzeug GREAT PLANES Fokker D.VII ARF ElectriFly herunter. GREAT PLANES Fokker D.VII ARF ElectriFly 20 Seiten.

❏
4. Insert the 90° bends of the 460mm [18"] pushrods into the
outer hole of the control horns and secure them with the plastic
retainers as shown. Place a drop of CA on the plastic retainers.
Install the Servos
❏
1. Install the servo mounting hardware and servo arms on
the rudder and elevator servos. Trim off the unused servo
arms. Insert a screw-lock pushrod connector in the hole of
each servo arm 9mm [11/32"] from the center of the servo.
Secure the screw-lock pushrod connector to the servo arm
with a nylon retainer.
❏
2. Position the servos on the servo rails aligning them with the
pushrod wires and drill a 1.6mm [1/16"] hole through each of the
mounting holes in the servo. Install and then remove a servo
mounting screw into each of the holes you drilled. Apply a
couple of drops of CA into each hole to harden the threads. After
the glue has hardened, plug the ESC, rudder and elevator
servos into the receiver. Plug a battery pack into the ESC. Switch
on the transmitter and then the ESC. Center the trims on the
transmitter and re-center the servo arms on the servos if
necessary so that the arm is perpendicular to the centerline of
the servo. Insert the rudder and elevator pushrod wires into the
screw-lock pushrod connectors and install the rudder and
elevator servos on the servo rails. Use the hardware included
with the servos to mount the servos to the rails.
❏
3. With the transmitter and the ESC power "ON," center
the elevator control surface and tighten the set screw in the
screw-lock pushrod connector against the elevator pushrod.
❏
4. Follow the same procedure to secure the rudder pushrod.
❏
5. Clean the cases of both aileron servos with denatured
alcohol. Use CA to glue the aileron servos on the bottom of
the aileron servo hatches so that the servo arm is centered
in the opening. Cut off all of the unused servo arms. If you
prefer, wrap electrical tape or heat-shrink tubing around the
servos before gluing them to the servo hatch. This will allow
the servos to be removed easily.
❏
6. Inside the aileron servo bays of the top wing, there is a
string that runs from one bay to the other. Plug the left
11
