Gainscha GA-F3300 Benutzerhandbuch - Seite 6
Blättern Sie online oder laden Sie pdf Benutzerhandbuch für Drucker Gainscha GA-F3300 herunter. Gainscha GA-F3300 14 Seiten. 80mm thermal receipt printer
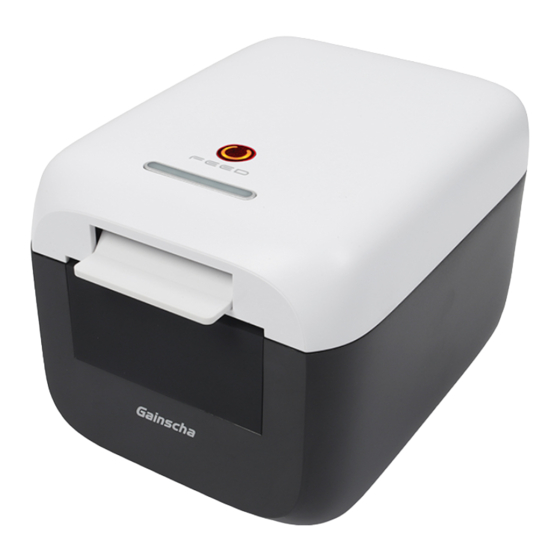
Thermal Receipt Printer
8. Functions of buttons and indicators
a. Print Self-testing page
* Printer status: Make sure the printer has thermal paper roll, then close the cover.
* Press the "Feed" button and hold it, then power on the printer. Release the hand holding
the "Feed" button after the error light is off (the buzzer beeps).
* The printer is automatically restored to normal mode after self-testing page printing
b. Buzzer switch
* Printer status: There is no paper roll in the printer, then close the printer cover.
* Press the "Feed" button and hold it, then power on the printer. Release the hand holding
the "Feed" button after the error light is off (the buzzer beeps).
* Put the paper roll back into the printer, then press the button and a notice will be printed.
c. Setting HEX mode
* Printer status: Make sure the printer has thermal paper roll, then close the cover.
* Press the "Feed" button before power on the printer. Release the hand holding the "Feed" button
after the three LED lights blink for three times.
* Press the "Feed" button within five seconds to enter HEX mode
* Long press the "Feed" button to cancel HEX mode.
d. Factory reset
* Printer status: Make sure the printer has thermal paper roll, then close the cover.
* Press the "Feed" button and hold it, then power on the printer. Release the hand after the three
LED lights blink for five times, and press the "Feed" button within five seconds.
* The factory settings are restored after the buzzer beeps three times, the printer will restart
Automatically.
e. Setting IAP mode
* Printer status: Make sure the printer has thermal paper roll, then close the cover.
* Press the "Feed" button and hold it, then power on the printer. Release the hand after the three
LED lights blink for five times, entering IAP mode.
* Restart the printer to cancel IAP mode.
f. Mode switch
* Printer status: Make sure the printer has thermal paper roll, then close the cover.
* Press the "Feed" button and hold it, then power on the printer. Release the hand after the buzzer
beeped three times, and then press the "Feed" button again.
* If continuous paper removal is in label mode, and single paper removal is in receipt mode.
9. Driver Setup
There are two ways to install the Driver for thermal receipt printer, one is to install the Driver
directly under WINDOWS, the other is to use the port directly.
* Install the Driver under WINDOWS
Add printer in WINDOWS, and specify the Driver file in the Driver disk to WINDOWS, only need
to call the Driver in the program and start printing. In this way, it is actually printed by the WINDOWS
printer program to convert characters into graphic dot matrix.
* Port drive directly
In this way, there is no need to use the Driver, only need to output the character directly to the
port, and by the printer's internal font library to realize the conversion of the character printing, using
the port direct drive mode, so that the printing control is more convenient.
In this way, you need to use the print command set to control the printing of the printer. The
80mm thermal receipt printer has integrated the ESC/POS command set.
5