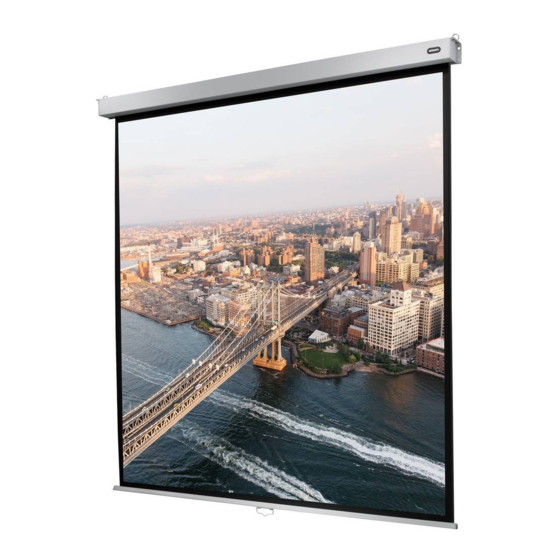
Celexon Professional Plus Benutzerhandbuch - Seite 6
Blättern Sie online oder laden Sie pdf Benutzerhandbuch für Projektionsfläche Celexon Professional Plus herunter. Celexon Professional Plus 8 Seiten. Ceiling recessed electric screen
Auch für Celexon Professional Plus: Installationshandbuch (13 seiten), Betriebsanleitung (6 seiten), Betriebsanleitung (8 seiten), Betriebsanleitung (11 seiten)

Installing the Screen
materials must be purchased separately). Use the screws (e) and screw into the
top hole, leaving a gap of 1cm. Hang the screen to the wall via the top mounting
hole and check again that the screen is level.You can then tighten this screw.
CAUTION: Tighten the screws, but do not over tighten them. Over tightening
(for example by using a cordless screwdriver) can cause damage and interfere
with the screen's secure hold. If you notice cracks in the side cap, they need
to be replaced. The screen must not be used with defective caps. Please
contact celexon directly for replacement caps (WEB: www.celexon.co.uk,
MAIL: [email protected]).
Then screw through the lower screw hole and make sure that the screws are not
tightened too tight.
Option 3: Suspended ceiling mounting via suspension eyelets (on ceiling
hooks - not included)
ATTENTION! Make sure that you use a stable surface.
Place the plate (f ) (one plate per side cap) underneath the holes of the end cap
and guide the hanging loop (g) through the side cap and plate from above. Then
tighten the loop with the lock nut (h) from below. Measure the distance (A) of
the loops and transfer the distance to the ceiling. Make sure that the loops are in
alignment with each other and that the marking is parallel to the wall.
ATTENTION: Mounting material such as ceiling hooks are not included in this
installation option and must be purchased separately.
5
