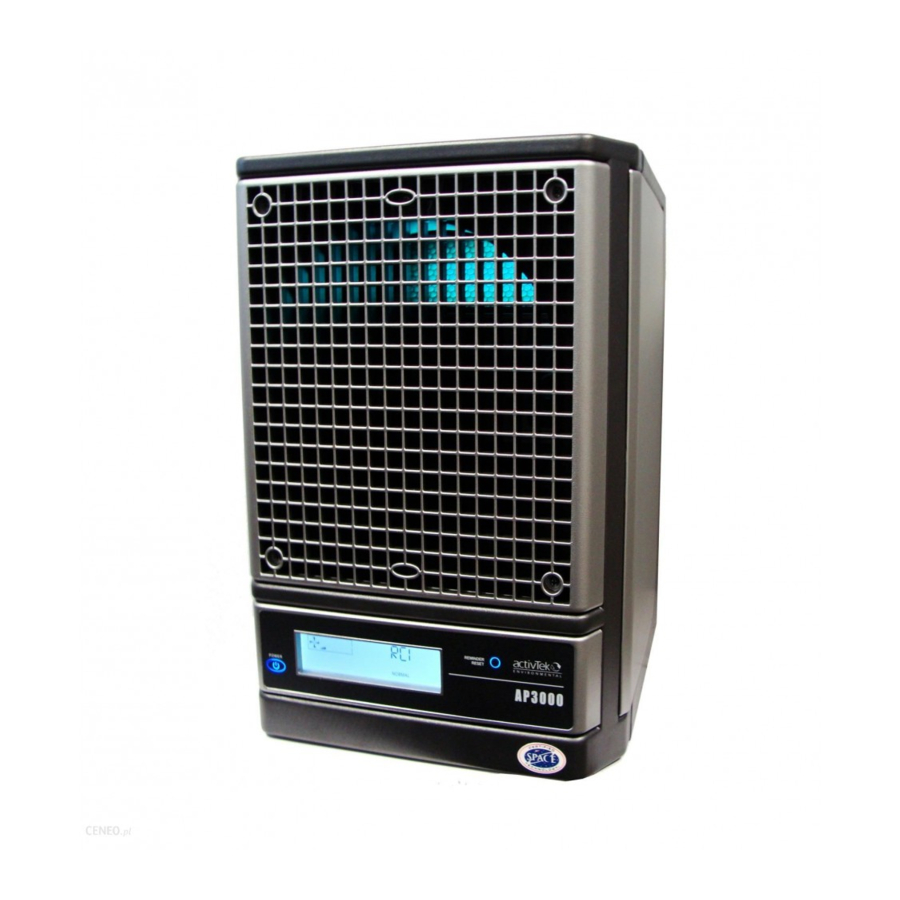
activTek AP3000 Benutzerhandbuch - Seite 7
Blättern Sie online oder laden Sie pdf Benutzerhandbuch für Luftreiniger activTek AP3000 herunter. activTek AP3000 12 Seiten. Portable whole home office system
Auch für activTek AP3000: Handbuch (16 seiten), Benutzerhandbuch (12 seiten)

GENERAL MAINTENANCE
CLEANING THE PURIFIER PLATE:
Remove the rear lint screen (see pages 8 - 9) . Carefully
remove the purifier plate from the card cage by grasping
the middle of the edge nearest to you, and slowly pull it
straight out .
If you are in an environment where there are fats, oils,
or grease, such as in a kitchen, start by cleaning with
denatured alcohol and a soft bristle brush . This will cut
the grease without leaving a residue .
For all applications - Clean with a mixture of one part
water and one part ammonia to remove contaminants .
Place the plate into a shallow dish, and pour enough of
the water/ammonia solution into the dish to just cover
plate . Allow the plate to soak for no more than 10 minutes .
CAUTION: Damage may result from soaking the purifier
plate in the ammonia solution longer than 10 minutes.
OPTIONAL PREFILTER
To Remove:
Rear Back Panel
follow steps 1 - 3,
pg. 8
Prefilter
follow steps 4 - 5
pg. 8
3
3 . (a) For first install,
(CONT .)
1
1 . Remove the two
(2) thumbscrews
securing the
top of the lint
screen .
lay Optional
Prefilter on filter .
(b) For replacing,
remove Optional
Prefilter and
replace with a
new one .
Remove plate and scrub with a soft bristle brush .
Rinse thoroughly . Let air-dry for 24 hours or use a
blow dryer to dry thoroughly.
The unit will display a REPLACE PLATE message if the
purification plate needs to be replaced .
CHANGING THE ACTIVEPURE (RCI) CELL:
The ActivePure (RCI) cell should be replaced every year if
used continuously, even if the unit does not display this
message . Replace every two (2) years if used less than
12 hours a day. To change the ActivePure (RCI) cell, follow
the instructions on pages 8 - 9 .
SEE PAGES 8 - 9 FOR REMOVAL AND INSTALLATION INSTRUCTIONS
* See next page for back cover removal instructions
4
4 . Replace
the rear
lint screen,
inserting
the bottom
of the lint
screen first .
Note: The bottom of the rear lint
screen is held into place by two
alignment guides (see inset) .
A P 3 0 0 0
2
2 . Remove the lint
screen by pulling
back the top,
then lifting up
and out .
5
5 . Secure the
top of the
lint screen by
replacing the
two (2) lint
screen holder
thumbscrews .
7
