Autool CT400 Benutzerhandbuch - Seite 7
Blättern Sie online oder laden Sie pdf Benutzerhandbuch für Prüfgeräte Autool CT400 herunter. Autool CT400 14 Seiten. Injector cleaner & tester

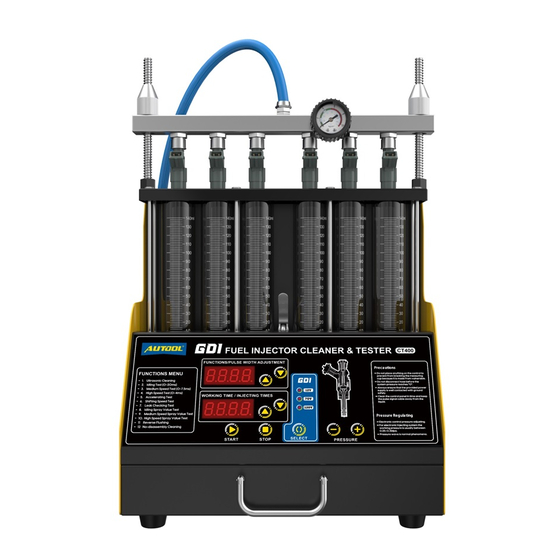
● Pressure increase adjustment button.
● Text description of function menu.
How to use the drain button
When performing work items 8, 9, and 10, press the button to close the drain
valve. Then the oil injected by the fuel injectors is closed in the glass tube, so as
to compare the amount of oil injected by each fuel injector. After the observation,
open the oil drain valve and return the test liquid to the oil tank.
Operation Procedures
3.1 Ultrasonic cleaning
Injector Cleaner takes advantage of the penetrability and cavitation impact
wave caused by ultrasonic waves traveling through the middle to provide
powerful cleaning on objects with complex shapes, cavities, and pores so that the
stubborn carbon deposits can be removed from the injectors.
Preparation:
● Remove the injector from the vehicle engine to check the rubber seals inside
for damage. Replace the damaged rubber seals with another same type of
rubber seal to avoid leakage during testing. Put the outside of injectors in
gasoline or detergent, and wipe them with a soft cloth after cleaning the outside
oil sludge carefully.
● Turn on the power (Note: There will be a delay of several seconds when this
device is restarted after a long power disconnection).
● Take out the cleaning bracket from the accessory box, then put it into the
ultrasonic bath, and put the clean fuel injector in the positioning hole of the
cleaning bracket in the ultrasonic bath.
3.1.2 Operation steps
Ultrasonic Cleaning:
● Add appropriate injector cleaning liquid into the ultrasonic bath, which
slightly immerses over the cleaning bracket will be fine.
● Turn on the ultrasonic switch on the right side of the main unit to start
ultrasonic cleaning.
● During the ultrasonic cleaning process, pulse signals can be input to the fuel
injector.
Steps:
● Plug the injector pulse signal wires into injectors respectively in turn. (Special
injectors need to be connected with adapter wires).
● Press the item selection up and down keys to select the "01 Ultrasonic
Cleaning" item, and then press the working time up and down keys to set the
4
