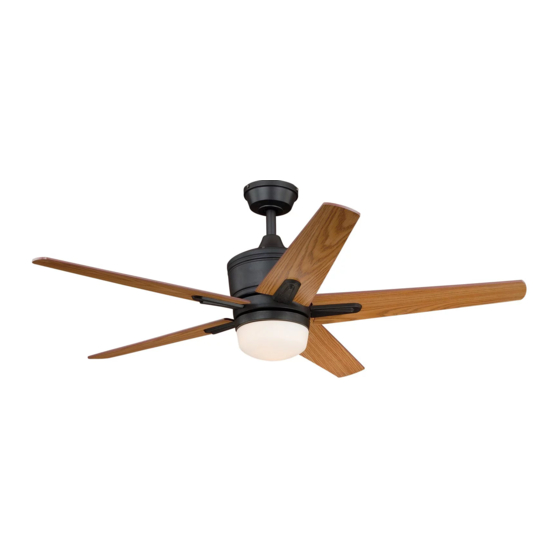
aireRyder F0028 Handbuch - Seite 7
Blättern Sie online oder laden Sie pdf Handbuch für Fan aireRyder F0028 herunter. aireRyder F0028 10 Seiten. Original ceiling fan

Blade
Blade Bracket
Fig.14
Thread the blade screws through the
blade and the blade bracket. Tighten
all blade screws securely. Repeat to
other blade.
Fan Light Installation:
WARNING:
As per EPACT 2005 requirements, this fan light has a built-in current limiting device to conserve
energy. The fan light will not operate if the combined wattage of the installed bulbs exceeds 190
Watts. If the fan light shuts off shortly after being switched on, it may be due to excessive current
demand. You should replace the light bulbs with lower wattage bulbs.
Bulb Type G Max.60W
(included)
Install bulbs (included). See relamping
label at socket area or packaging for
maximum wattage.
Reverse
Slide Switch
Forward
Fig.18-a
The slide switch sets the direction of fan rotation. Select the desired
direction of fan rotation. Push the slide switch bottom for " Forward"
and top for "Reverse".
Blade Screw
Insert the blade bracket through the
slot on the fan fixture set. Align holes
and fasten blade bracket to the fan
fixture set with screws. Repeat for
remaining blade brackets.
Suggest: Using magnetic Philips
screwdriver.
Fan Fixture
Glass Shade
Fig.16
Fig.15
Blade Bracket
Screw
Fig.17
Reverse
Slide Switch
Forward
Fig.18-b
PAGE: 7 / 9
Outside rim of glass shade has
three raised strips separated by
three flat areas. To lock glass
shade to fan fixture, align the
three bumps on inner rim of fan
fixture with three flat areas on
outside rim of glass shade and
carefully raise glass shade into
fan fixture. Hold and twist glass
shade clockwise until the glass
shade is firmly locked in place.
Fig.19
Turn ON the electric circuit at the
main fuse or circuit breaker box.
F
A
N
140819
C
O
