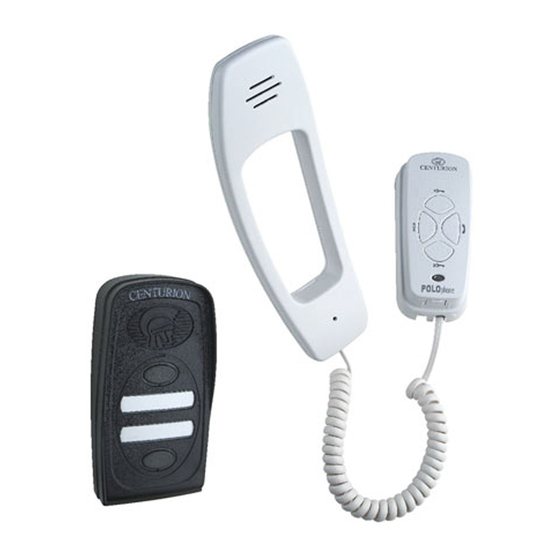
Centurion POLOphone Installationshandbuch - Seite 10
Blättern Sie online oder laden Sie pdf Installationshandbuch für Intercom System Centurion POLOphone herunter. Centurion POLOphone 17 Seiten. Entry panel
Auch für Centurion POLOphone: Installationshandbuch (17 seiten), Installationshandbuch (16 seiten), Verfahren für die Inbetriebnahme (4 seiten)

HANDSET INSTALLATION
Handset Installation
Handset Installation
1
1
Position handset on wall where
required and at a height that will allow
for comfortable use of the handset. A
height of 1550mm from the floor to
the base of the cradle is recom-
mended.
4
1
Outer dimensions of the mounting
holes in the cradle base relative to the
cradle base.
7
Screw the base firmly into position
and using the slots provided in the
mounting holes to adjust the base to
be perfectly vertical.
Page 10 - Polophone Intercom
2
To remove the cradle base, squeeze
the sides of the cradle.
5
1
53mm
53mm
53mm
53mm
53mm
53mm
In the case of an uneven wall, the
tabs may be cut as shown to allow the
cradle base to 'sit' on the wall without
rocking.
8
Route the cable over the channel in
the cradle base cross bar and using
the cable tie (A) - provided secure
the cable to the cradle base as
shown.
3
Extract the cradle base.
6
6
6
Hold the cradle base against the wall
at the required height and ensure that
it is vertical.
Mark the location of the mounting
holes.
Using a 6mm masonry bit, drill holes
into the wall for the rawlplugs
provided in the kit.
If the cable is being routed into the
unit from a concealed conduit behind
the base, route the cable through the
A
cable entry point provided.
Ensure that at least 140mm of cable
extends out of the wall.
