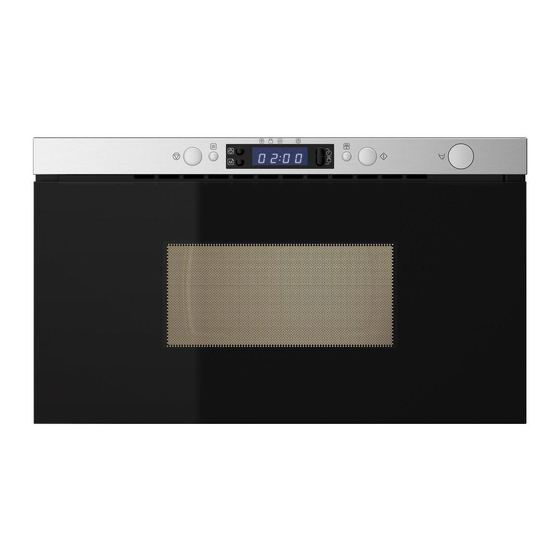
IKEA FRAMTID Benutzerhandbuch - Seite 15
Blättern Sie online oder laden Sie pdf Benutzerhandbuch für Kochfeld IKEA FRAMTID herunter. IKEA FRAMTID 24 Seiten. Hobs
Auch für IKEA FRAMTID: Benutzerhandbuch (44 seiten), Installationshandbuch (12 seiten), Benutzerhandbuch (48 seiten)

ENGLISH
What to do if ...
Problem
The appliance does not work.
A message is displayed such
as: F2, F3C, F7 or Err2, Err3,
Err5.
The food is unevenly heated.
Food isn't turning.
Authorized Service Centre
Before calling the Authorized Service Centre:
1. See if you can solve the problem on your own (see the "What to do if ..." table).
2. Switch the appliance off and on again to see if the problem has disappeared.
If the fault persists after the above checks, contact IKEA Authorized Service Centre.
Always specify:
-
the type of fault;
-
exact type and model of appliance;
-
the Authorized Service Centre number (the number given after
the word "Service" on the rating plate) located on the inside
edge of the oven cavity (visible when the door is open);
-
your full address;
-
your telephone number.
If any repairs are required, please contact IKEA Authorized Service Centre (to guarantee
that original spare parts will be used and repairs carried out correctly).
Possible cause
The mains power supply
or the appliance is not
connected.
The door isn't closed.
The oven has
recognized that a fault
has occured in one of it's
sensors or similar.
Very thin parts such as
chicken wingtips and
such are not shielded.
The food was heated at
a power level too high.
The turntable has
stopped.
The turntable has
stopped.
Solution
Check your fuses and ensure
that there is power avaliable.
Open and then close the door
before you try again.
Disconnect and wait 10
minutes before reconnecting,
then try to operate the oven
once more. If the problem
persists: call service.
Shield the thinner parts with
aluminum foil.
Choose a lower power level.
Check that the turntable and
turntable support is in place
and the food is well centered,
not touching the cavity walls.
Check that the turntable and
turntable support is in place
and the cavity bottom is
clean.
15
