Makita 1806B Gebrauchsanweisung - Seite 7
Blättern Sie online oder laden Sie pdf Gebrauchsanweisung für Elektrowerkzeug Makita 1806B herunter. Makita 1806B 10 Seiten. Power planer
Auch für Makita 1806B: Gebrauchsanweisung (17 seiten), Aufschlüsselung der Teile (3 seiten), Gebrauchsanweisung (13 seiten), Gebrauchsanweisung (13 seiten), Gebrauchsanweisung (11 seiten)

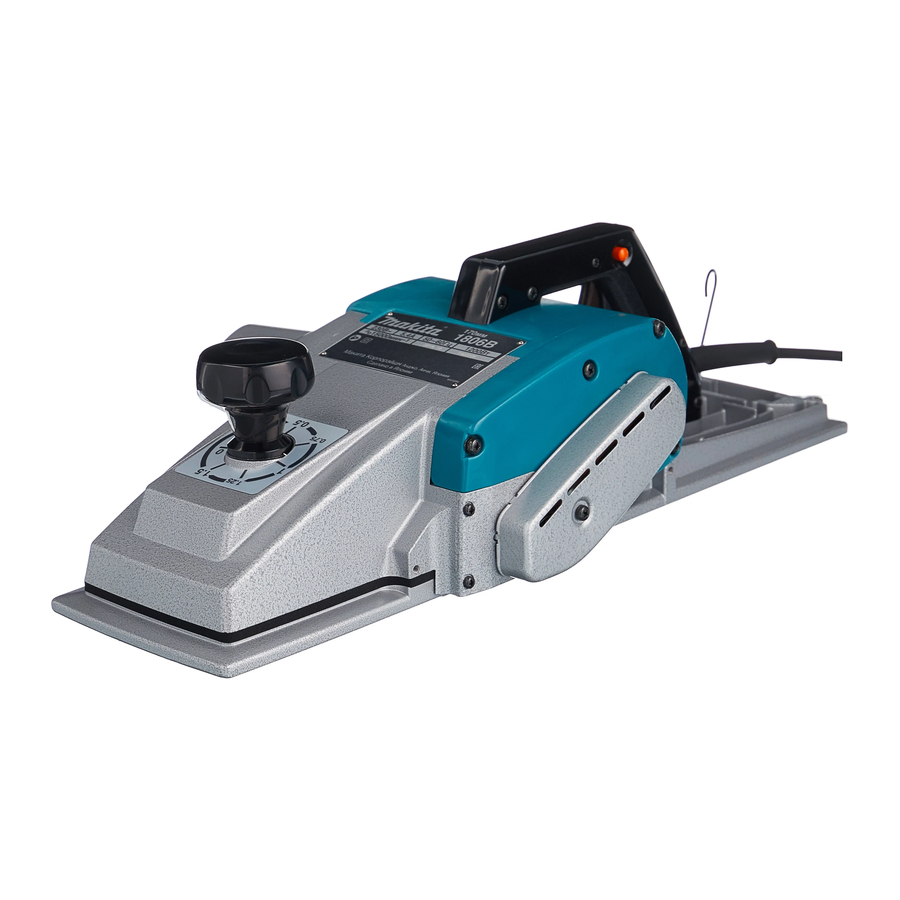
Adjusting the depth of cut (Fig. 4)
Depth of cut may be adjusted by simply turning the
knob on the front of the tool.
Switch action
CAUTION:
Before plugging in the tool, always check to see that
the switch trigger actuates properly and returns to the
''OFF'' position when released.
For tool without lock button and lock-off button
(Fig. 5)
To start the tool, simply pull the trigger. Release the
trigger to stop.
For tool with lock button (Fig. 6)
To start the tool, simply pull the trigger. Release the
trigger to stop. For continuous operation, pull the
trigger and then push in the lock button. To stop the
tool from the locked position, pull the trigger fully, then
release it.
For tool with lock-off button (Fig. 7)
To prevent the trigger from being accidentally pulled,
a lock-off button is provided. To start the tool, press
the lock-off button and pull the trigger. Release the
trigger to stop.
Planing operation (Fig. 8)
First, rest the tool front base flat upon the workpiece
surface without the blades making any contact.
Switch on and wait until the blades attain full speed.
Then move the tool gently forward. Apply pressure on
the front of tool at the start of planing, and at the back
at the end of planing. Planing will be easier if you
incline the workpiece in stationary fashion, so that you
can plane somewhat downhill.
The speed and depth of cut determine the kind of
finish. The power planer keeps cutting at a speed that
will not result in jamming by chips. For rough cutting,
the depth of cut can be increased, while for a good
finish you should reduce the depth of cut and advance
the tool more slowly.
Sharpening the planer blades (Fig. 9, 10 & 11)
Always keep your blades sharp for the best perfor-
mance possible. Use the sharpening holder to
remove nicks and produce a fine edge.
First, loosen the two wing nuts on the holder and
insert the blades (A) and (B), so that they contact the
sides (C) and (D). Then tighten the wing nuts.
Immerse the dressing stone in water for 2 or 3
minutes before sharpening. Hold the holder so that
the blades both contact the dressing stone for simul-
taneous sharpening at the same angle.
Connecting a vacuum cleaner
For European countries and areas (Fig. 12 & 13)
When you wish to perform clean planing operation,
connect a Makita vacuum cleaner to your tool. Install
the nozzle (standard equipment) on the tool using the
screws provided. Then connect a hose of the vacuum
cleaner to the nozzle as shown in Fig. 13.
For other countries and areas
A nozzle and joint (optional accessories) are neces-
sary to connect a Makita vacuum cleaner to your tool.
Consult a Makita catalogue or representative on the
nozzle and joint.
MAINTENANCE
CAUTION:
Always be sure that the tool is switched off and
unplugged before carrying out any work on the tool.
Replacement of carbon brushes
(Fig. 14, 15 & 16)
Replace carbon brushes when they are worn down to
the limit mark. First, remove the chip cover and then
replace the carbon brushes. Both identical carbon
brushes should be replaced at the same time.
To maintain product safety and reliability, repairs,
maintenance or adjustment should be carried out by
Makita Authorized Service Center.
7
