CORNING Eclipse Anweisungen - Seite 4
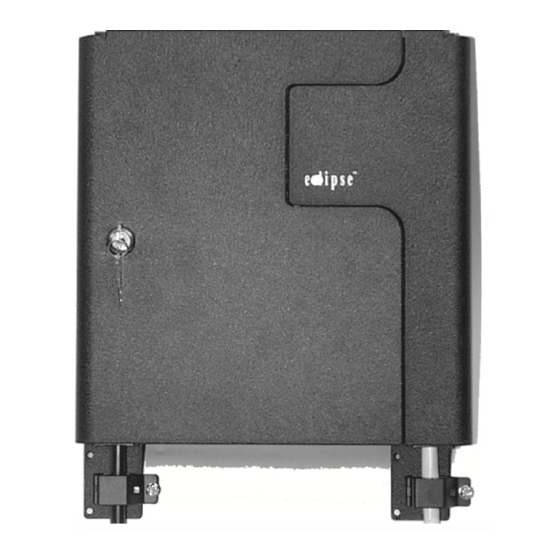
Blättern Sie online oder laden Sie pdf Anweisungen für Racks & Ständer CORNING Eclipse herunter. CORNING Eclipse 5 Seiten. Wall-mount housing

Strain-relieving Cable with Central Member
If you are terminating an outside plant cable or temperatures fluctuate widely along any part of
the cable, the strength members should be secured. Failing to do so may result in damage to
the cable as temperatures vary.
Step 1:
Attach the cable to the bracket (with cable ties in two
places).
Step 2:
Install the 8-32x5/8-inch screw from the front side of
the strain-relief bracket through the flat washer and
U-shaped washer. Loosely install the hex nut.
Step 3:
Wrap the strength member yarn in a clockwise direction
around the screw and under the U-shaped washer.
Step 4:
Insert the central member of the cable between the flat
washer and the U-shaped washer.
Step 5:
Tighten the hex nut.
Step 6:
If the central member is metallic, place the eye of a
ground wire (#6 AWG, purchased separately in
appropriate length from any electrical supply store)
under the U-shaped washer or under the flat washer.
NOTE: The ground wire must have metal-to-metal contact
providing an electrical path to the central member in order
to properly ground the cable.
Step 7:
Attach the other end of the ground wire to the
building ground.
Step 8:
Trim off the excess yarn and central member.
NOTE: The exposed length of the central member (after strain-
relief) is to be less than or equal to 6.5 cm (2 1/2 inches)
between the U-shaped washer and the end of the cable
sheath.
Step 9:
Attach the bracket to the housing using the
6-32 screws provided. Slide grommet in position.
NOTE: Make sure the cable does not bend excessively as it enters the housing.
8.
Buffer Tube Fan-out
Step 1:
If using buffer tube fan-out kits (ordered separately)
to transition from buffer tubes to single fibers, follow
the instructions provided with the kits.
Step 2:
Secure the fan-out bodies to the buffer tube fan-out
bracket using a cable tie.
Step 3:
Fasten the bracket to the housing using (2) lock
nuts.
9.
Splicing to Pigtails
Step 1:
Provide cable slack in the slack storage area.
Step 2:
Install pigtail connectors.
Step 3:
Label both the cable components and the pigtails with identification tags.
STANDARD RECOMMENDED PROCEDURE 003-499 | ISSUE 4 | SEPTEMbER 2015 | PAGE 4 OF 5
TPA-3009
TPA-3007
TPA-3012
