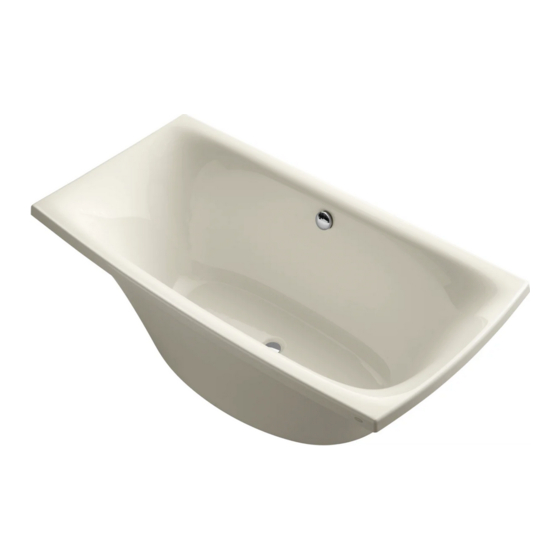
Kohler K-11344 Handbuch für Installation und Pflege - Seite 2
Blättern Sie online oder laden Sie pdf Handbuch für Installation und Pflege für Badewannen Kohler K-11344 herunter. Kohler K-11344 28 Seiten. Freestanding bath
Auch für Kohler K-11344: Handbuch für Installation und Pflege (45 seiten), Installationshandbuch (25 seiten), Roughing-In-Handbuch (4 seiten)

Tools and Materials
Sealant
Before You Begin
IMPORTANT! To ensure a successful installation, install the bath on a level finished floor.
IMPORTANT! This product requires a K-7219 drain for proper installation.
Observe all local plumbing and building codes.
Unpack and inspect the bath for damage. Return the bath to the carton until installation.
Make sure all plumbing connections around the bath are easily accessible for future maintenance.
We strongly recommend that this installation be performed by a professional plumber or contractor.
Provide access for making the final drain connection from below.
A minimum of two people are needed to perform this installation.
This bath is designed for a freestanding installation only.
Select fasteners and a drilling method based on the type of floor the bath will be attached to.
This bath conforms to CSA B45.5/IAPMO Z124. All dimensions are nominal.
1. Prepare the Site
NOTICE: Provide adequate floor support.
NOTICE: Measure your product for site preparation. Note the model number located on the back of the
bath, then visit the product page at www.kohler.com for more information.
Ensure the subfloor is level.
Determine the location of the bath. Provide a minimum clearance of 24" (610 mm) around the
perimeter of the bath. Additional space is recommended to ease installation.
Use the cut-out template provided with the bath to properly mark the water supply and drain
locations in relation to the chosen location of the bath.
Cut the marked water supply and drain locations on the subfloor with a saw and hole saw.
Install the finished flooring material prior to installing the bath.
Ensure the finished floor is level before proceeding with the bath installation.
1207307-2-B
Plus:
• Conventional tools and materials
• Drop cloth
• Fasteners (as necessary)
• Rags
• Saw horses
• Hole saw
2
Kohler Co.
