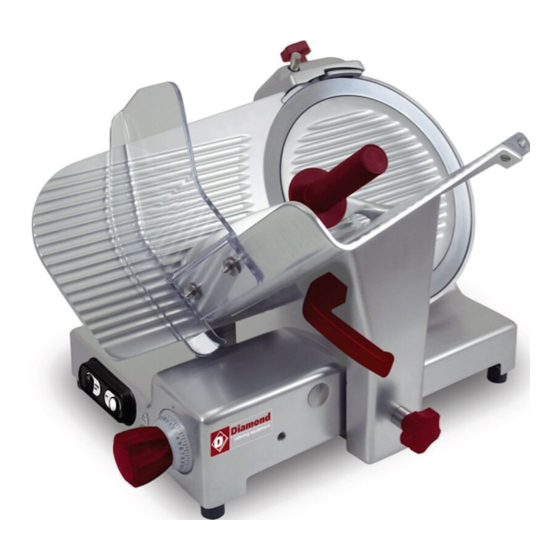
Diamond 350/GXS Betriebs- und Wartungshandbuch - Seite 12
Blättern Sie online oder laden Sie pdf Betriebs- und Wartungshandbuch für Kommerzielle Lebensmittelausrüstung Diamond 350/GXS herunter. Diamond 350/GXS 16 Seiten. Professional slicer ce

5.2 - LOADING AND CUTTING THE PRODUCT
WARNING: The goods to be cut are loaded on the plate only with the graduated
handgrip at "0" and the motor stopped, being careful with the blade and the
points.
Adhere to the following procedure:
1. Lift the goods presser, load the go-
ods on the plate, bringing it close to
the thickness gauge, block it with
the proper toothed arm;
2. regulate the desired thickness of the
cut with the graduated handgrip;
3. assume a correct position to avoid
accident: place the right hand on the
goods presser handgrip and, then
the left hand next to the slice guard
to take the cut product (without tou-
ching the blade); the body must be
perpendicular to the work plane (Fig.
n°39).
WARNING: Do
not
assume
positions which bring body parts
in direct contact with the blade
(ex. Fig. n°40);
4. then push the "ON" push-button;
5. push the carriage (plate + goods
presser arm + stem) gently towards
the blade, without applying excessi-
ve pressure on the product with the
goods presser arm. The goods will
easily enter the blade, and the slice
guided by the proper sliceguard will
detach and fall on the plane (Fig. n°
40);
6. avoid running the slicer when
empty ;
7. at the end of the cutting operation,
stop the machine by putting the
switch in the "OFF" position and put
the graduated handgrip at "0";
8. Carry out resharpening the blade as
soon as the cut product has a threa-
ded or rough surface, therefore the
Fig. n°39
Fig. n°40
Fig. n°41
20
cutting effort increases (chapter 5.3).
5.3 -
SHARPENING THE BLADE
WARNING: Before starting to sharpen the blade, pay attention to RESI-
DUAL RISKS (chapter 4.2.2) concerning the dangers of cutting without ha-
ving followed the instructions listed below.
To sharpen the blade, which needs to be done periodically as soon a decrease
in cutting is noticed, the following directions must be adhered to:
1. disinsert the plug from the outlet and
carefully clean the blade with
denatured alcohol so it is degreased;
2. lift (a) the sharpener (1) and turn it
180° (b Fig. n°43);
3. let it go in a way that the sharpener
(c) fits on the locator pins (d Fig. n°
43);
4. check also that the blade stays be-
tween the two grinders;
5. insert the pin and start the machine,
by pressing the "ON" push-button;
6. press the push-button (2 Fig.n°44),
let the blade rotate in contact with the
grinder for about 30/40 sec. so that a
slight burr forms on the blade edge;
7. press the 2 push-buttons (2 and 3)
contemporaneously for 3/4 sec. and
release them in the same instant
(Fig. n°45);
8. after having completed the sharpe-
ning it is advisable to clean the grin-
1
Fig. n°42
c
d
Fig. n°43
2
Fig. n°44
21
