HP ProCurve 1600M Installationshandbuch - Seite 13

Blättern Sie online oder laden Sie pdf Installationshandbuch für Schalter HP ProCurve 1600M herunter. HP ProCurve 1600M 28 Seiten. Redundant power supply
Auch für HP ProCurve 1600M: Spezifikationsblatt (12 seiten), Lies mich zuerst (8 seiten), Handbuch für Rezensenten (27 seiten), Ergänzendes Handbuch (2 seiten), Ergänzendes Handbuch (2 seiten), Installationshandbuch (28 seiten), Installationshandbuch (36 seiten), Handbuch zur Schnelleinrichtung (2 seiten), Handbuch zur Schnelleinrichtung (4 seiten), Benutzerhandbuch (8 seiten), Handbuch Ergänzung (28 seiten), Lies mich zuerst (16 seiten), Montage und Demontage (2 seiten), Installationshandbuch (12 seiten), Handbuch für Planung und Durchführung (40 seiten), Anweisungen zur Demontage des Produkts nach Ablauf der Lebensdauer (2 seiten), Installationshandbuch (46 seiten), Diagnostik-Handbuch (2 seiten), Anweisungen für die Demontage (2 seiten)
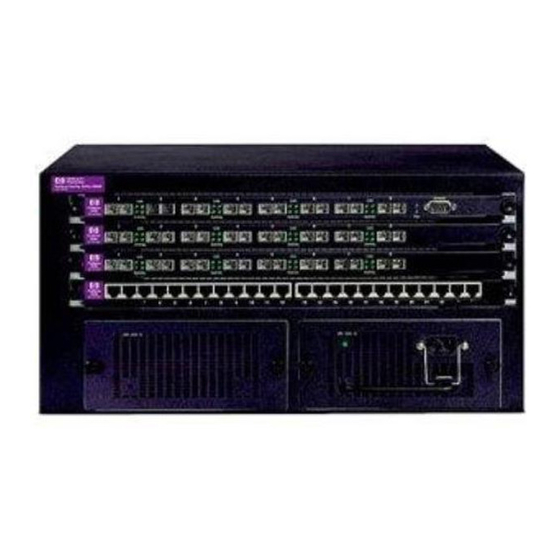
HP ProCurve 1600M Installationshandbuch
5. Tighten the two retaining screws to hold the module in place. The retaining
screws should be secure but be careful to not overtighten them.

4. Verify the Module is Installed Correctly

Observe the Module Status, Self Test, and Fault LEDs on the front of the switch
to verify that the module is installed properly.
Module Status and
Self Test LED
Fault LED
When the module is installed properly and the switch is powered on, or the
module is installed when the switch already has power, the module undergoes
a self test that takes a few seconds. You can use the LEDs to determine that
the module is installed properly and has passed the self test, as described in
the "LED Behavior" table below.
LED Behavior
LED
Module Status
Self Test
Fault
Display for a Properly Installed Module
Goes ON as soon as the module is installed and the switch is
powered on, and stays ON steadily.
ON briefly while the module is being tested, then OFF.
Note: If the switch was powered off while the module was
installed, when the switch is powered on, the Self Test LED will
stay ON for the duration of the whole switch self test.
OFF
Installing the Module
tighten the two
retaining screws
7