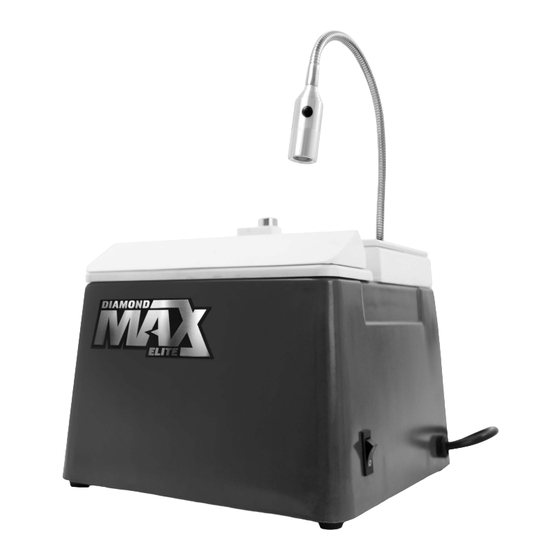
Diamond Tech DIAMOND MAX ELITE Betriebshandbuch - Seite 2
Blättern Sie online oder laden Sie pdf Betriebshandbuch für Schleifer Diamond Tech DIAMOND MAX ELITE herunter. Diamond Tech DIAMOND MAX ELITE 6 Seiten. Two-in-one glass grinder

DIAMOND MAX
ELITE INSTRUCTION MANUAL - PAGE 2
™
Before You Begin
Read and follow all instructions carefully.
•
After unpacking all components, assemble grinder on a firm level surface to prevent grinder from tilting
and rocking.
•
Be sure the power switch is in the OFF position before plugging in the grinder.
•
Always disconnect grinder from electrical outlet before setting up or servicing.
•
Wear proper apparel. Never wear loose fitting clothes, neckties, jewelry and gloves that may get caught in
moving parts.
•
Always wear safety glasses. Everyday eyeglasses have only impact resistant lenses they are not
safety glasses.
•
Never turn on grinder while glass or working materials are touching the bits or disks.
•
Never leave grinder running unattended. Turn power OFF when not in use.
•
Do not operate while under the influence of medication or alcohol.
•
To ensure top performance keep grinder properly maintained and lubricated.
WARNING: This product contains small parts that may be a choking hazard to small children.
Contents
Your Diamond Max Elite Grinder
from the packaging.
1 - Grinder Body with Light
2 - 6" Flat Disk (260 Grit)
3 - 1" Silver Bullet
Bit
™
4 - Advanced Super Sponge
5 - Adjusting Hex Wrench
6 - 30
/45
Bevel Block
0
0
7 - Water Reservoir with Slide Valve
8 - Disk Support Collar and Disk Retaining Nut
9 - Easy Glide Work Surface
10 -Anti-Seize Lubricant
DELUXE MODEL ALSO INCLUDES:
1 - Bit Spacing Collar
2 - 3/4" Silver Bullet
Bit
™
3 - 1/4" Silver Bullet
Bit
™
4 - Easy-On
Footswitch
™
Assembly Instructions
A. Disk Installation
Disk installation is necessary in order to simultaneously use both the bit and disk.
Disk installation also prevents water from dripping into the motor housing.
1. Remove the packing included to protect the grinder during shipment.
2. To install the grinder disk use a hex wrench to loosen and remove grinder
bit (FIG.1).
3. Remove the grid surface, water tray and beveling block.
KEEP OUT OF REACH OF CHILDREN.
has been shipped partially assembled. Carefully remove grinder and parts
™
™
10
7
9
3
5
2
1
2
6
8
4
4
1
3
FIG.1
