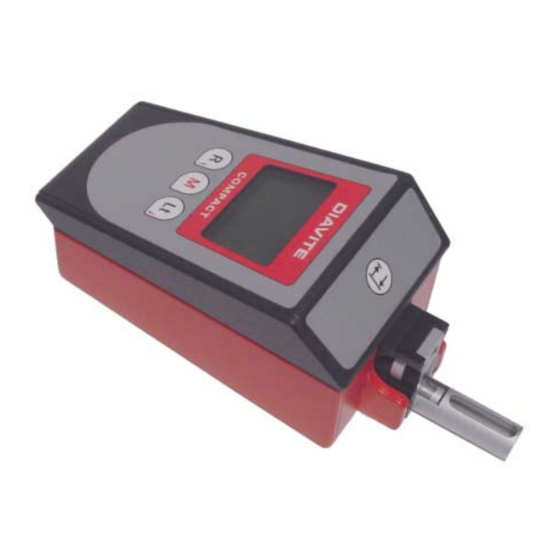
DIAVITE AG DIAVITE Compact VH Handbuch - Seite 8
Blättern Sie online oder laden Sie pdf Handbuch für Messgeräte DIAVITE AG DIAVITE Compact VH herunter. DIAVITE AG DIAVITE Compact VH 14 Seiten.

2.
Operation
2.1
Measuring
2.1.1 Start measuring operation
The area to be measured on the work piece must be properly cleaned in order to avoid that the
tracer is getting dirty. If the roughness is measured manually, the tracer is laid onto the work piece and
held steadily. At the lowest margin of the display, the position of the feeler can be controlled with the
arrow (↑). The ideal setting is reached when this sign appears in the centre of the display: →←. After
pressing the start key, the measuring procedure is effected automatically. In course, the measuring
values can be read on the LCD-display and printed out.
Pressing any key can interrupt a current measuring operation and bring the tracer to a halt. Actuate
the start button once more, to bring the tracer to its starting position again.
If the tracer is not in correct position, the measuring procedure can be released nevertheless!
2.1.2 Maximum measuring value
The maximum amplitude of the diamond stylus is 200 µm. If this is exceeded, there will be no
signal of faulty measurement. However, such high measuring values will always be indicated by the
arrow (↑), which means that the measuring results could be faulty.
2.1.3 Special tracers (probes)
Complementary to the standard tracer, there are a number of special tracers at disposal. These are
constructed to solve specific measuring problems and can be used only together with the measuring
stand.
Tracers without skid can be used only with the traverse unit VHF
The traverse unit must be set parallel to the measured surface.
When lowering the tracer onto the work piece, the 0-point of the feeler must be adjusted
exactly. The arrow indicates the direction, to which the tracer must be moved:
Taster
Taster
Taster
Taster
Taster
DIAVITE COMPACT
On the display, the arrow is situated on the left
margin and shows downwards
Carefully lower the tracer, until the pointer moves
from the left margin towards the centre.
If the correct zero point is reached, two arrows
appear in the middle of the indicator screen.
Push the key 'M' and start the measuring
operation.
If the sensor is set too deep, the arrow appears on
the right half of the display
upwards. The tracer must be set in a
higher position
ATTENTION, the tracer might be damaged!
7
and shows
