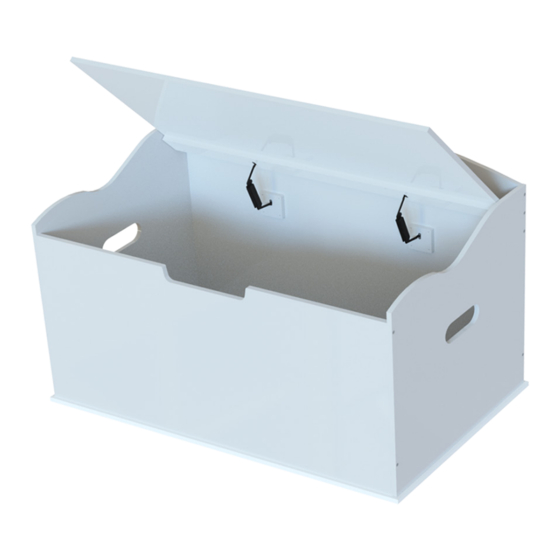
DIBSIES CREATIVE WONDERS TOY BOX Montageanleitung - Seite 3
Blättern Sie online oder laden Sie pdf Montageanleitung für Inneneinrichtung DIBSIES CREATIVE WONDERS TOY BOX herunter. DIBSIES CREATIVE WONDERS TOY BOX 8 Seiten.

PRE-ASSEMBLY
This product must be assembled on a soft, non-slip surface, such as a carpet or padded mat.
IMPORTANT
This unit is equipped with special lid supports that must be correctly attached and functioning
properly. The purpose of the safety lid supports is to prevent injury to a child's fingers or other parts
when opening and closing the lid. The supports should allow the lid to be opened at any angle. The
lid must not drop more than 1/2 inch (from its own weight) with the exception of the final 2 inches
before reaching its closed position.
Please note that there are some steps in the assembly process that require an additional person to
help with the assembly.
Check this product for damaged hardware, loose joints, missing parts or sharp
edges before and after assembly and frequently during use. Do not use if any parts
are missing, damaged, or broken. Send email to [email protected] for
replacement parts, if needed. Do not substitute parts.
PARTS CHECK LIST
Ensure that the following parts are included with your Toy Box.
Part A x1
(Left Side Panel)
2
WARNING
This product contains choking hazards from small parts and sharp points and is not
suitable for children under the age of three. This product should only be assembled
by an adult. To avoid risk of suffocation, do not allow children to play inside this
product.
Part B x1
(Right Side Panel)
Part C x1
(Top Panel)
Part D x7
(Dowel)
