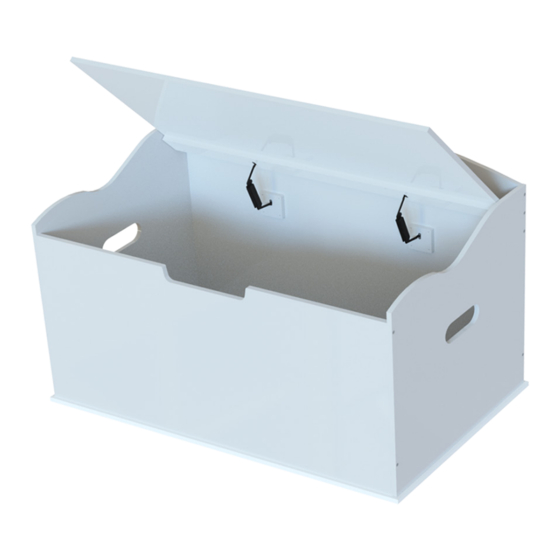
DIBSIES CREATIVE WONDERS TOY BOX Montageanleitung - Seite 4
Blättern Sie online oder laden Sie pdf Montageanleitung für Inneneinrichtung DIBSIES CREATIVE WONDERS TOY BOX herunter. DIBSIES CREATIVE WONDERS TOY BOX 8 Seiten.

Part E x1
(Back Panel)
Part I x2
(Pivot Pin)
TOOLS CHECK LIST
Ensure you have a Phillips screwdriver available for assembly. Do not use power tools as they may cause
damage to the toy box panels.
Phillips Screwdriver x1
INSTRUCTIONS
Step 1 - Assembly of Panels B, C, E, & F
1.
Locate Part E
Begin by locating Part E and holding it
upright as shown.
Part F x1
(Front Panel)
Part J - x22
(Longer Screw)
Part G x1
(Bottom Panel)
Part K - x2
(Lid Support)
2.
Attach Part C
Next, locate Part C and three Part D
dowels. Insert the dowels into the Part
E panel as shown. Align the holes at
the bottom of Part C with the dowels
and then push the Part C panel into
place.
Part H x1
(Lid)
Part L - x8
(Shorter Screw)
3
