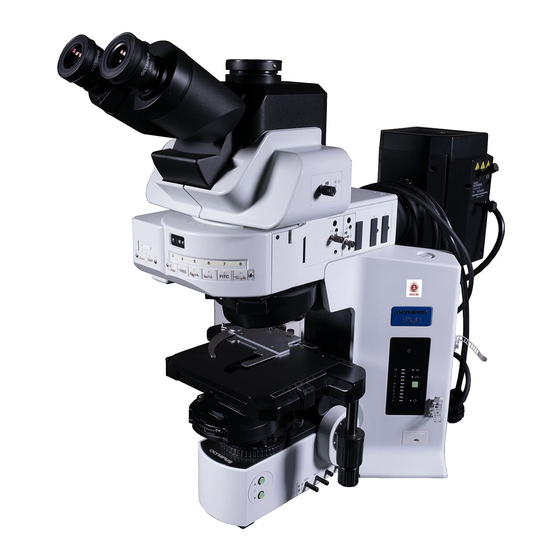
Olympus BX61 Anleitung Handbuch - Seite 27
Blättern Sie online oder laden Sie pdf Anleitung Handbuch für Mikroskop Olympus BX61 herunter. Olympus BX61 40 Seiten. Motorized system microscopes

Problem
e) Visibility is poor.
· Image is not sharp.
· Contrast is poor.
· Details are indistinct.
· Image glares.
f ) One side of image is blurred.
g) Image appears to waver.
h) Field of view becomes only slightly
brighter when the voltage is raised.
2. Electrical System
a) Bulb intermittently lights and goes
out.
b) Bulb burns out almost immediately. Wrong type of bulb is being used.
c) All voltage indicator LEDs light and
voltage cannot be varied by press-
ing light intensity adjustment but-
ton.
d) Brightness does not change when
you press light intensity adjustment
button.
3. Focusing Block
a) Image cannot be focused.
b) Stage rises too high and destroys
specimen.
Cause
Correction collar on correction collar
equipped objective is not properly ad-
justed.
Front lens of objective is dirty.
Immersion oil is not being used with an
oil immersion objective.
Immersion oil contains bubbles.
Recommended immersion oil is not
used.
Dirt/dust on specimen.
Dirt/dust on condenser
Inappropriate object side or cover glass
thickness.
Revolving nosepiece is not correctly
mounted.
Stage is not correctly mounted.
Objective is not correctly engaged in light
path.
Specimen is not correctly mounted on
stage.
Revolving nosepiece is not corrected
mounted.
Objective is not correctly engaged in
light path.
Condenser is not properly centered.
Condenser is not properly centered.
Condenser is lowered too far.
Bulb is nearly burned out.
A connector is not properly connected.
Bulb is not installed.
Bulb is burned out.
Lamp housing is not connected.
Bulb is burned out.
When adjusting stage height, you forgot
to reattach upper stopper screw.
Substage is not installed properly.
Remedy
While focusing, turn the correction col-
lar to find the best position.
Clean objective.
Use immersion oil.
Remove the bubbles.
Use the provided immersion oil.
Clean it.
Replace with glass of recommended
thickness.
Push slide dovetail all the way until it
is stopped.
Re-attach it.
Make sure that revolving nosepiece
clicks into place correctly.
Place specimen correctly on to of
stage and secure it with slide holder.
Push slide dovetail all the way until it
is stopped.
Make sure that revolving nosepiece
clicks into place correctly.
Center the condenser.
Center the condenser.
Adjust the condenser height position.
Replace bulb.
Check all connectors.
Use correct bulb type.
Install bulb.
Replace bulb.
Connect lamp housing correctly.
Replace bulb.
Re-attach upper stopper screw.
Re-attach substage.
BX61
Page
21
3
21
21
21
3
13
–
15
–
13
–
–
19
19
19
31
–
31
31
31
–
31
15
11
23
