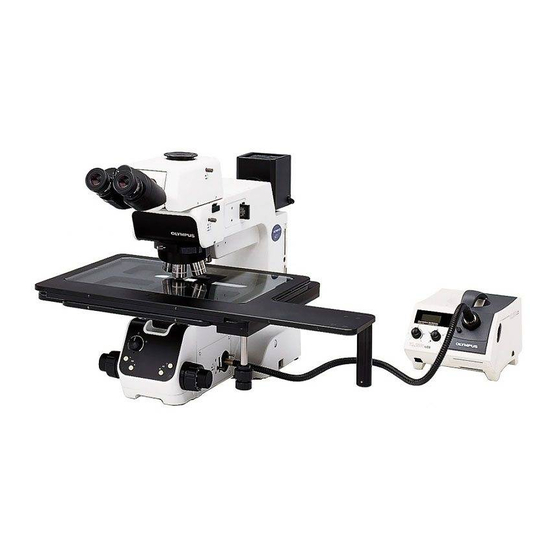
Olympus MX61L Montageanleitung - Seite 7
Blättern Sie online oder laden Sie pdf Montageanleitung für Mikroskop Olympus MX61L herunter. Olympus MX61L 49 Seiten. 200mm/300mm compatible semiconductor/fpd inspection microscopes

MX61 external view, eye point and center of gravity
Eye point
(Bottom view of microscope)
(Note) The center of gravity is an approximate position when the microscope is equipped with the standard module
combination for transmitted light observation. Note that the position is variable depending on the weight of
specimen, position of the stage and other modules used.
9. To prevent toppling of the microscope system, keep the total height of the microscope below 1 meter (3.3 ft) when
attachments (including Olympus optional modules and the CCD camera prepared by the customer) are mounted.
@
Fig. 2
10. Each microscope has screw holes (M5, depth 10 mm) for prevention of
toppling (in the case of an earthquake or microscope imbalance) on the
²
side panels @ (x 2 holes) and the rear panel ² (x 2 holes). Clamp the
microscope using L-shaped clamps and these screw holes as required.
When clamping the microscope using L-shaped clamps pre-
pared by the customer, be sure to use steel bolts (strength cat-
egory 12.9) with as long as possible threaded sections (8 mm
or more is recommended).
MX61/MX61L
Unit: mm
Position of center of gravity
4
