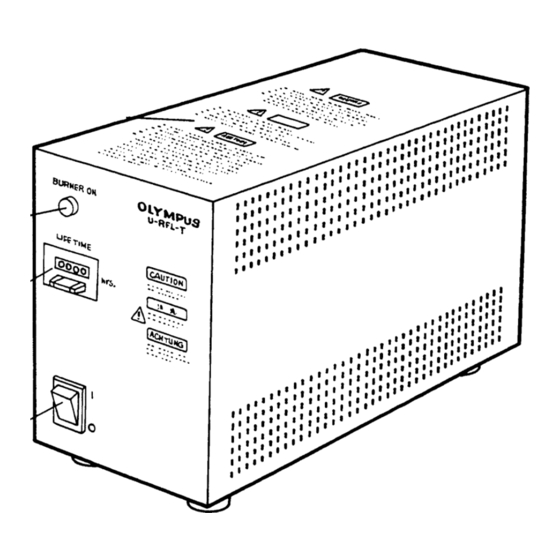
Olympus U-RFL-T Gebrauchsanweisung - Seite 8
Blättern Sie online oder laden Sie pdf Gebrauchsanweisung für Mikroskop Olympus U-RFL-T herunter. Olympus U-RFL-T 16 Seiten.
Auch für Olympus U-RFL-T: Anleitung Handbuch (36 seiten), Anleitung Handbuch (16 seiten)

- 1. Power Supply Unit
- 1. 1 Nomenclature
- 2. Safety Precautions
- 2. 2 Assembly
- 2. Assembly Diagram
- 2. Mounting the Mercury Burner
- 2. Cable and Cord Connections
- 3. Table of Contents
- 3. 3 Preparation for Observation
- 3. Igniting the Mercury Burner
- 3. Centering the Mercury Burner
- 4. 4 Specifications
- 5. 5 Troubleshooting Guide
- 5. Proper Selection of the Power Supply Cord
2-3 Cable and Cord Connections
3
3
Fig. 5
...
Fig. 6
Fig. 7
Fig. 8
Cords are vulnerable when bent or twisted. Never subject them
to excessive force.
Make sure that the main switch is set to "O" (OFF) before
connecting cords and cables.
1. Verify that the voltage and frequency of the AC mains outlet match the
requirements indicated on the rating plate @ on the power supply unit.
(Fig. 5)
2. Plug the mercury burner socket connecting cord plug ² firmly into the
output connector ³. (Fig. 5)
Always use the power cord provided by Olympus. If no power
cord is provided, please select the proper power cord by refer-
ring to the section "PROPER SELECTION OF THE POWER SUPPLY
CORD" at the end of this instruction manual. If the proper power
cord is not used, Olympus can no longer warrant the electrical
safety and performance of the equipment.
3. Plug the power cord connector | into the AC receptacle ƒ. (Fig. 5)
4. Plug the power cord plug ... into a wall outlet. (Fig. 6)
Connect the power cord correctly and ensure that the ground
terminal of the power supply unit and that of the wall outlet are
properly connected. If the equipment is not grounded, Olympus
can no longer warrant the electrical safety and performance of
the equipment. When installing the power cord, route the power
cord away from the lamp housing. Should the power cord come
in contact with the hot lamp housing, the power cord could melt
and cause electric shock.
Set up cords sufficiently away from the lamp housing. Otherwise
cord covering may melt, posing a risk of electric shock.
Resetting the Burner Life Time Hour Counter
1. To reset the burner life time counter to "000.0", press the center portion ²
of the reset button @ on the power supply unit's front panel.
} The counter shows elapsed time in hours. In order not to impair the safety
of the equipment, replace the burner when the counter indicates "200.0"
hours (USH102D) or "300.0" hours (HBO103W/2). Before replacing the
burner, wait at least 10 minutes after turning the burner off.
The mercury burner contains high-pressured gas and it may
crack if used beyond the specified life time.
(Figs. 7, 8)
