Olympus BH-NRE Handbuch - Seite 6
Blättern Sie online oder laden Sie pdf Handbuch für Laborausrüstung Olympus BH-NRE herunter. Olympus BH-NRE 17 Seiten. Modular revolving nosepiece

onto the stationary base (see
loose protective cover from the turret assembly (see
Figure
5).
Figure 4 – Remove screws securing the cover in place
Figure 5 – Remove the protective cover
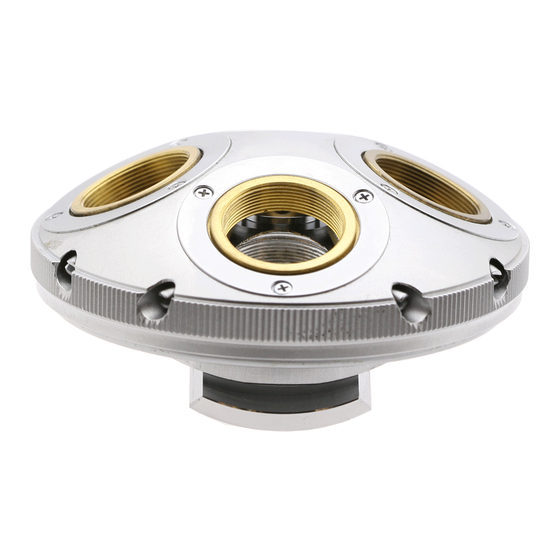
Figure 6 – The turret assembly (without cover)
Complete Teardown, Cleaning, and Reassembly of the Olympus BH-NRE Modular Revolving Nosepiece
Figure
4) and remove the
Remove the Dovetail Slide
The dovetail slide attaches to the stationary base of the
turret assembly via four M2.6X5 pan-head screws. Use
a suitable JIS screwdriver to remove these four M2.6X5
screws (see
Figure
7) and then remove the loose
dovetail slide from the stationary base (see
Figure 7 – Remove four screws securing the dovetail slide
Figure 8 – Remove the loose dovetail slide
Remove the Mechanical Detent Stop
The next step is to remove the mechanical detent stop
from the stationary base of the turret assembly. Use a
suitable JIS screwdriver to remove the two M2X4 pan-
head screws securing the detent stop to the stationary
base (see
Figure
9). Note that these screws are usually
staked in place with adhesive and can be surprisingly
stubborn to remove, so be sure to use the proper JIS
screwdriver to prevent damaging the screw heads. It
might also be helpful to heat the screws with a heat gun
before loosening them, and to apply a solvent (acetone)
to the threads as the screw is loosened.
Figure
8).
Page 6 of 17
Revision 3
