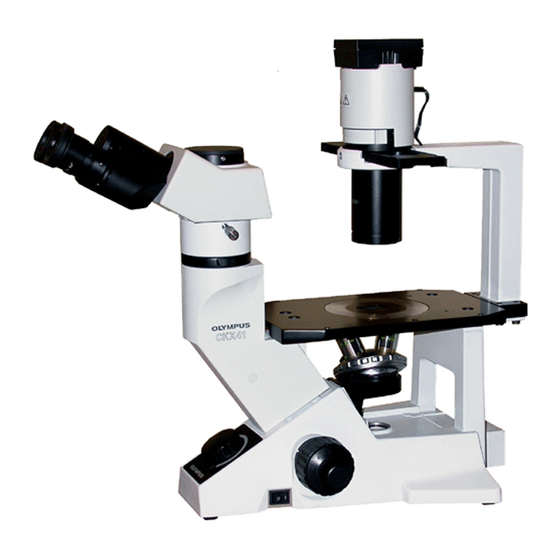
Olympus CKX41 Anleitung Handbuch - Seite 27
Blättern Sie online oder laden Sie pdf Anleitung Handbuch für Laborausrüstung Olympus CKX41 herunter. Olympus CKX41 36 Seiten. Reflected fluorescence system
Auch für Olympus CKX41: Übersicht (7 seiten), Broschüre & Specs (4 seiten), Reparatur-Handbuch (43 seiten)

- 1. Table of Contents
- 1. General Precautions for Observation
- 1. Using the Controls
- 2. Important
- 2. Applicable Fluorescence Objectives
- 3. Nomenclature
- 3. Centering the Mercury Burner
- 4. Troubleshooting Guide
- 4. Specifications
- 4. Assembly
- 4. Assembly
- 4. U-Excitation Filter Set Ckx-Nu (Optional)
- 4. Controls of each Module
- 4. Switching the Filter Slider
- 5. Proper Selection of the Power Supply Cord
- 5. Summary of Reflected Fluorescence Observation Procedure
1
Fig. 15
3
2
1
Fig. 16
6
Attaching the Excitation Light Protective Shield
2
}The mounting holes for the excitation light protective shield
3
have a large size because they are also used with the
CKX-RCD condenser.
Insert the excitation light protective shield 1 from the bottom
of the condenser 2, and then tighten the two clamping
screws 3.
7
Attaching the U-LH50HG Lamp Housing
Insert the collector 1 of the lamp housing into the illuminator,
rotate the lamp housing so that its top panel 2 becomes
4
horizontal, then tighten the two clamping screws 3 on the
illuminator using the Allen wrench.
As the lamp housing surface becomes very hot during
operation, ensure that there is ample free space around
the lamp housing, especially above and below.
5
If the lamp socket cord 4 or power cord 5 of the CKX41
comes in contact with the lamp housing or its surround-
ings, the cord could melt and cause electric shock. Be
sure to position these cords at safe distances from the
lamp housing.
REFLECTED FLUORESCENCE SYSTEM
FOR CKX41
(Fig. 15)
(Fig. 16)
24
