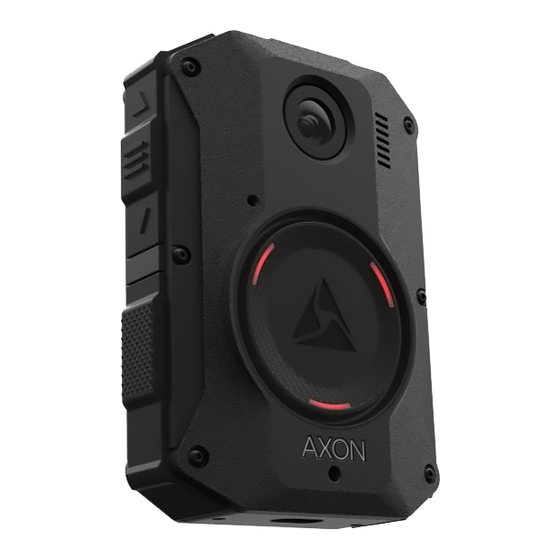
Axon Body 3 Allgemeine Anweisungen
Blättern Sie online oder laden Sie pdf Allgemeine Anweisungen für Sicherheitskamera Axon Body 3 herunter. Axon Body 3 2 Seiten. Camera battery replacement
Auch für Axon Body 3: Funktion Handbuch (2 seiten), Ersatz-Handbuch (7 seiten)

Axon Body 3 Dock General Instructions
IMPORTANT: Before using an Axon Body 3 camera, ensure it is registered to your agency, assigned, and fully charged.
Refer to the Axon Body 3 Registration Guide or
Read, understand, and follow all warnings and instructions before using this product. The most up-to-date warnings and
instructions are available at www.axon.com.
Introduction
The Axon Body 3 Dock provides a network connection
for Axon Body 3 cameras to Axon Evidence.com or
Axon Commander, so the cameras can upload evidence
and download camera updates. While information is
securely transferred to your organization's account,
the dock also recharges the camera's battery.
The Axon Body 3 Dock only functions as an Ethernet
adapter, an unmanaged network switch, and charger.
This allows any Axon Body 3 camera to be docked in any
Axon Body 3 Dock, and still connect to the registered
agency's Axon Evidence.com or Axon Commander
account to upload video.
There are two types of Axon Body 3 Docks, a 1-Bay and
an 8-Bay version.
Go to
help.axon.com
for instructions, videos, and to
download the Axon Body 3 Dock Installation Manual.
Axon Body 3 Cameras and
Network Infrastructure
The network requirements for Axon Body 3 cameras
are provided below:
Note: If you are moving from previous generation
Axon body-worn cameras to Axon Body 3 cameras,
you may be required to make changes to your network
infrastructure. If your agency has concerns or questions
about any of the network considerations, please
contact your Axon representative in advance of your
deployment so that they can address these issues as
early as possible.
For more information, see the Axon Body 3 Dock
Installation Manual.
• Each Axon Body 3 camera requires its own IP address
when docked. The Axon Body 3 Dock itself has no
IP address, but each bay has its own Media Access
Control (MAC) address. The list of MAC address for
each bay is shown on the end of each dock.
• Static IP addresses are not supported. Dynamic Host
Configuration Protocol (DHCP) should be used to
provision the IP address and network settings. Each
Axon Body 3 Dock bay functions as an Ethernet card,
with its own MAC address.
• Upload bandwidth restrictions cannot be set for an
Axon Body 3 Dock.
• Axon Body 3 cameras require direct access to Axon
Evidence or Axon Commander through an Axon Body
3 Dock and do not support using a proxy server.
online instructions
for more information.
Axon Body 3 Dock Setup
The general steps for assembling, configuring, and
registering the Axon Body 3 Dock are provided below.
For detailed information on assembling, configuring,
and registering the Axon Body 3 Dock, go to
axon.com
the Axon Body 3 Dock Installation Manual.
1
Remove the Axon Body 3 Dock from the box.
2
Connect the Axon Body 3 Dock to the network
using WAN port.
3
Connect the Axon Body 3 Dock to power.
4
Register the Axon Body 3 Dock using Axon
Device Manager (ADM). This is an optional, but
highly recommended step.
Axon Body 3 Camera
Registration
Prior to using an Axon Body 3 camera it must be
registered to your agency. Camera registration requires
the use of Axon Device Manager (ADM) and an Axon
Body 3 Dock. The general steps are provided below. For
detailed information on this process, go to Axon Body
3 section of help.axon.com.
1
Power on and place the unregistered Axon Body
3 camera in a powered and Internet connected
dock. Multiple cameras can be registered at the
same time, but each camera requires its own
dock bay.
2
Sign in to ADM, go to Settings, select Registration
Devices, and select Axon Body 3.
3
Follow the ADM on-screen instructions to
complete the registration process.
for instructions, videos, and to download
A 1-Bay Axon Body 3 Dock with an
Axon Body 3 camera.
An 8-Bay Axon Body 3 Dock
for Axon Body 3 cameras.
help.
Page 1
