Archer VR6 Installation, Betrieb und Wartung - Seite 2
Blättern Sie online oder laden Sie pdf Installation, Betrieb und Wartung für Controller Archer VR6 herunter. Archer VR6 5 Seiten. Vacuum regulator
Installing the VR6 Vacuum Regulator:
1) Carefully inspect the cylinder valve outlet surfaces and vacuum regulator inlet capsule
surfaces for damage or debris prior to installation.
2) Note that the inlet port on the VR6 regulator ships with a filter cartridge installed. Do not
remove this filter, as doing so will bring on maintenance requirements.
3) Always use a new lead gasket when connecting the vacuum regulator to a chlorine
cylinder valve.
4) Holding the vacuum regulator upright, settle it over the cylinder valve and fit the inlet
capsule into the cylinder valve outlet port.
5) Using a 3/8" wrench, tighten the yoke assembly "half-dog" set screw so that the lead
gasket is crushed between the valve and the inlet capsule.
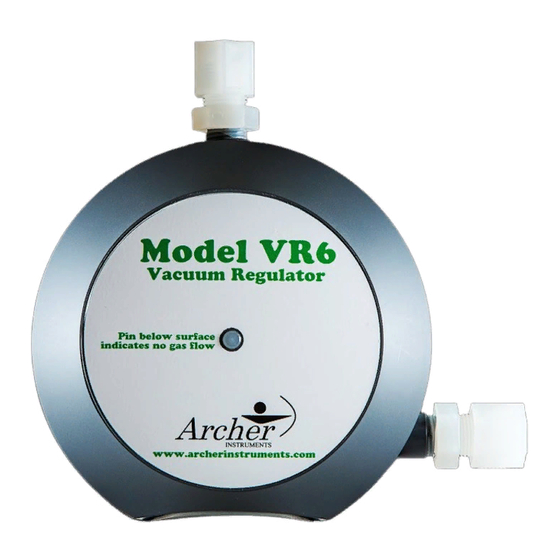
6) Connect the vent and vacuum tubing to the regulator (these are labeled). See Figure 1.
NOTE: Vent tubing should always be connected and run to a safe location (outside of any
building). A vent bug cap (provided with every Archer vacuum regulator) should be fitted
over the end of vent tubing to prevent insects from entering the equipment.