Creek Audio VOYAGE i20 Gebrauchsanweisung - Seite 5
Blättern Sie online oder laden Sie pdf Gebrauchsanweisung für Verstärken Creek Audio VOYAGE i20 herunter. Creek Audio VOYAGE i20 19 Seiten.
NOTE
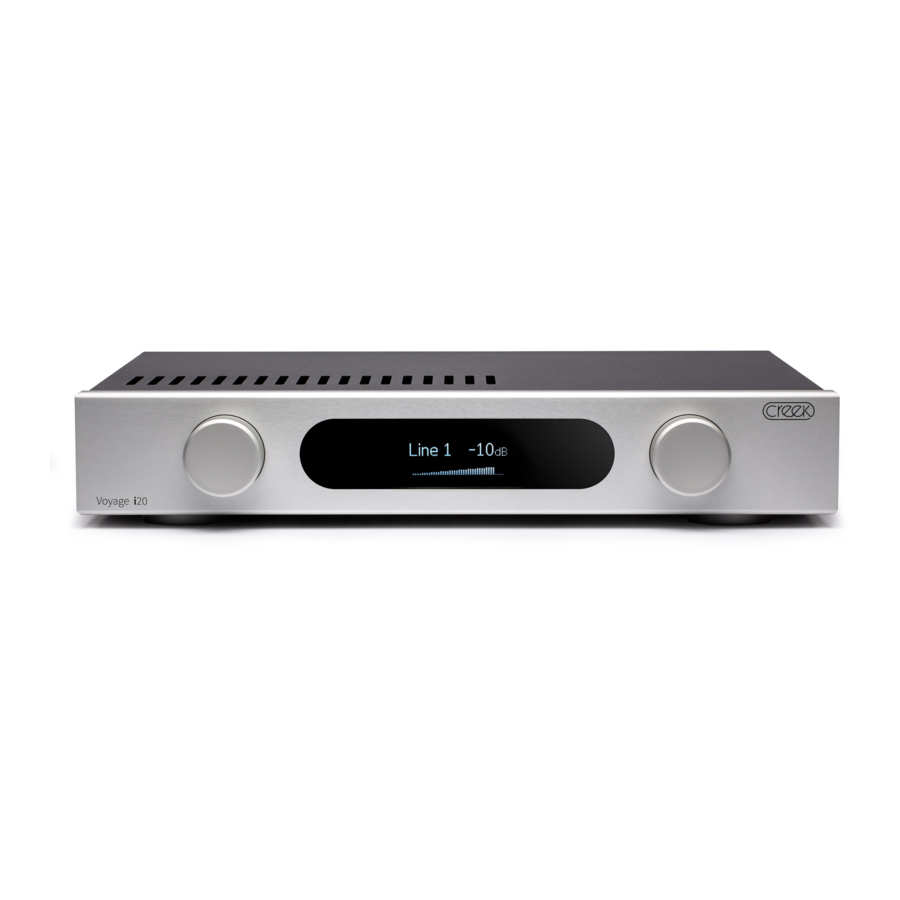
If the volume control is set between -9dB to 0dB (which will be loud) and then muted, the level will be automatically reduced to -10dB when
un-muted. All control settings are memorised after the power is turned off.
The maximum attenuation from the i20 volume control is -80dB. If the volume knob is turned one click more the output will be completely mut-
ed.
It is important to note that the power output of the amplifier is the product of both the vol-ume setting AND the input signal level from the source
equipment. Sources with a lower output signal will require a higher volume setting on the i20 to reach the required loudness. Do not be worried
if you find the volume is approaching 0dBs to achieve your preferred listening level, it does not necessarily mean the amplifier is working too
hard or delivering its full capability.
The current volume setting is stored during power off but when the i20 is turned back on, the value will be limited to a maximum level of -20dB.
MUTE
Press the volume knob once briefly to mute the output and press it again to un-mute.
LEFT HAND CONTROL KNOB
The left-hand control knob normally selects pre-amp inputs when rotated in either direction. Press the knob once to enter the MENU options:
DISPLAY SETTINGS
1.
Select Always ON to never turn the display off.
2.
Select Always OFF to cause the display to go blank after a few seconds of showing the settings. If any remote handset button or control
knob on the amp is touched or moved the display will immediately light-up again for a few seconds.
DISPLAY BRIGHTNESS
Press the Menu control knob to enter the Menu. Select Display Brightness and press again to select - Low, Medium, or Full.
Alternatively, press DIM on the remote handset to select Low, Medium, or Full. This function, like several others requires AMP to be selected on
the remote first.
4