Epson PhotoPC 550 Handbuch - Seite 6
Blättern Sie online oder laden Sie pdf Handbuch für Projektor Epson PhotoPC 550 herunter. Epson PhotoPC 550 13 Seiten. Epson photopc 550: specifications
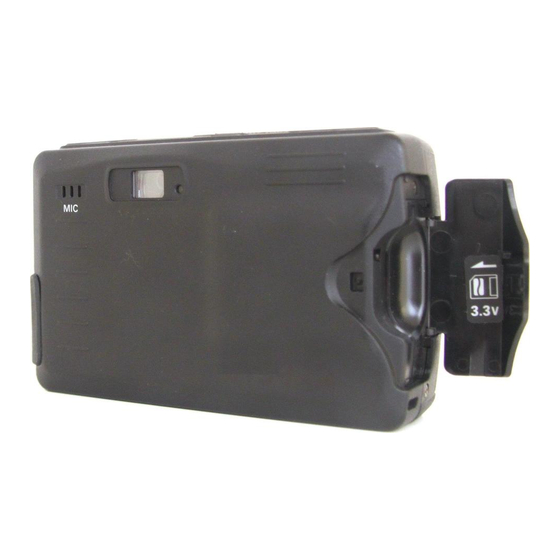
EPSON PhotoPC 550
Using a Tripod
For portraits or other studio pictures, you can attach your
PhotoPC 550 to a tripod. Follow these steps:
1. Assemble and set up the tripod by following the
manufacturer's instructions. Make sure the tripod is well-
balanced on a flat surface.
2. Find the opening for the tripod screw on the bottom of
your camera. Carefully place the camera on the tripod.
Screw the camera on until it is firmly in place.
tripod socket
3. Adjust the tripod to view your subject as desired.
Erasing Pictures
You erase the last picture taken (along with any accompanying
message); you can also erase all the pictures in the camera at
once.
NOTE
You cannot erase a message only.
To erase the last picture taken, hold down the
for 2 seconds until you see the erase icon on the display panel.
The icon flashes and the status light on the back of the camera
is red while the picture is erased.
erase icon
TIP
Be sure to press the indentation in the center of the ERASE button.
You may need to press it with your fingernail instead of your finger.
To erase all the pictures in the camera, hold down the
button and then press the
ERASE
2 seconds or until you see the erase icon.
6 -
PhotoPC 550
button
ERASE
button for
SELF TIMER
Connecting the Camera
Note the following before you start:
If you have the optional AC adapter, you can conserve
battery life by using it when you connect the camera to your
computer.
The camera's auto shut-off feature takes place after
5 minutes of inactivity when the camera is connected to
your computer. To turn the camera back on, close the lens
cover and then open it again. (You can change the auto
shut-off time period if you want.)
When you connect the camera, make sure your system is
not exposed to sources of electromagnetic interference, such
as stereo speakers or the base units of cordless telephones.
Make sure you have the serial cable that came with your
camera. Before you start, turn off the camera and your
computer. Then follow these steps:
1. Locate a serial port on the back of your computer. You may
have two serial ports labeled COM1 and COM2, or the
ports may be labeled with icons. If you have two serial ports
available, use COM1 (port 1) to connect your camera.
NOTE
If you have a 25-pin serial port, you can use a 9- to 25-pin adapter.
2. Line up the serial connector on the cable with one of the
serial ports on your computer, and insert the connector.
Then tighten the screws.
3. Open the connector cover on the side of the camera.
10/8/97
serial port
DC port