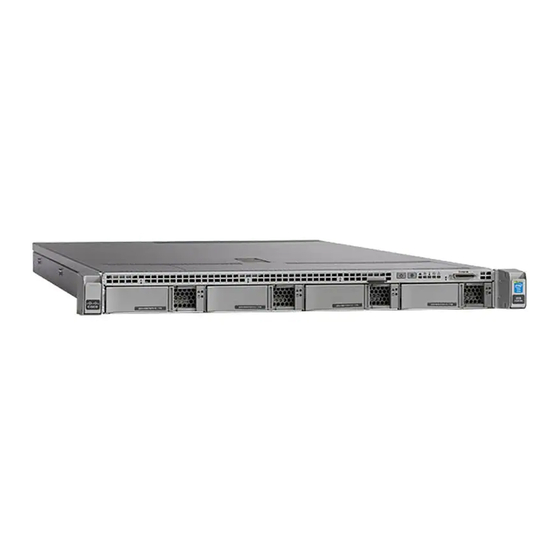
Cisco Firepower 2600 Hardware-Installationshandbuch - Seite 36
Blättern Sie online oder laden Sie pdf Hardware-Installationshandbuch für Gateway Cisco Firepower 2600 herunter. Cisco Firepower 2600 44 Seiten.

Connect Cables, Turn on Power, and Verify Connectivity
Figure 32: Inner Rail Release Clip
1
Inner rail release clip
3
Button to unlock rail
Press this button to unlock the rail so you can
pull out the chassis from the rack when
uninstalling or performing maintenance.
Step 5
(Optional) Secure the chassis in the rack more permanently by using the two screws that are provided with the slide rails.
Perform this step if you plan to move the rack with chassis installed. With the chassis fully pushed into the slide rails,
open a hinged slam latch lever on the front of the chassis and insert the screw through the hole that is under the lever.
The screw threads into the static part of the rail on the rack post and prevents the chassis from being pulled out. Repeat
for the opposite slam latch.
What to do next
Continue with
Connect Cables, Turn on Power, and Verify Connectivity
This procedure references the rear panel ports of the FMC 2600 and 4600. The FMC 1600 is the same except
that it does not have the two 10-G SFP+ ports above the Ethernet ports.
After rack mounting the chassis, follow these steps to connect cables, turn on power, and verify connectivity.
Note
AC power supplies have internal grounding and so no additional chassis grounding is required when the
supported AC power cords are used. For more information about supported power cords, see
Specifications, on page
Note
Although the CIMC is not supported on the FMC, you can use LOM on the default management interface
(eth0) on a SOL connection to remotely monitor or manage the FMC system. For information about using
LOM and SOL, see the
and 4600
Cisco Firepower Management Center 1600, 2600, and 4600 Hardware Installation Guide
32
Connect Cables, Turn on Power, and Verify Connectivity, on page
14.
Cisco Firepower Management Center Getting Started Guide for Models 1600, 2600,
for your model.
2
Inner rail attached to the chassis and inserted
into outer rail
4
Outer rail attached to rack post
Mount and Connect
32.
Power Cord
