Epson Perfection V200 Photo Benutzerhandbuch - Seite 6

Blättern Sie online oder laden Sie pdf Benutzerhandbuch für Scanner Epson Perfection V200 Photo herunter. Epson Perfection V200 Photo 9 Seiten. Color image scanner
Auch für Epson Perfection V200 Photo: Teileliste (10 seiten), Broschüre (2 seiten), Hier beginnen (2 seiten), Update (1 seiten), Wichtige Sicherheitshinweise (4 seiten), Hier beginnen (2 seiten), Hier beginnen (2 seiten)
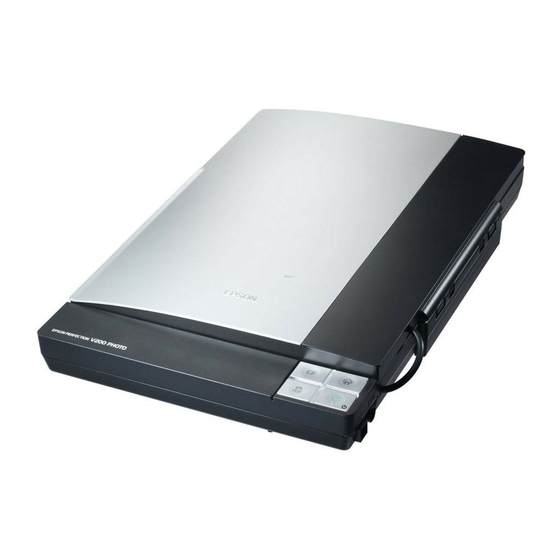
Epson Perfection V200 Photo Benutzerhandbuch
Epson Perfection V200 Photo
1. Place the film holder on the document table so that it is
aligned as shown. Make sure the tab with the slide icon on
the film holder fits into the area with the same icon on the
scanner.
2. Place up to four slides in the film holder with the shiny base
side facing down. Your images should appear backwards on
the side that faces up. Your images should be oriented as
shown.
Note:
Make sure you place the long edge of the slide in the film holder
as shown above, for both landscape and portrait-oriented
photos[ATTN GREG: YOU REQUESTED THAT WE REMOVE
THIS NOTE FOR MORPHEUS. SHOULD IT ALSO BE REMOVED
HERE?].
3. Make sure you removed the document mat. See page 4.
4. Close the scanner cover.
When you are finished scanning slides, be sure to replace
the document mat before scanning documents or photos.
See page 6.
6 - Epson Perfection V200 Photo

Storing the Film Holder

When you are not using the film holder, you can store it inside
the scanner cover.
1. Open the scanner cover and remove the document mat. For
instructions, see page 4.
2. Slide the film holder into the scanner cover.
3. Replace the document mat. See the next section for
instructions.

Replacing the Document Mat

Replace the document mat by sliding it into the notches in the
scanner cover. Make sure the white surface faces outwards.
6/07