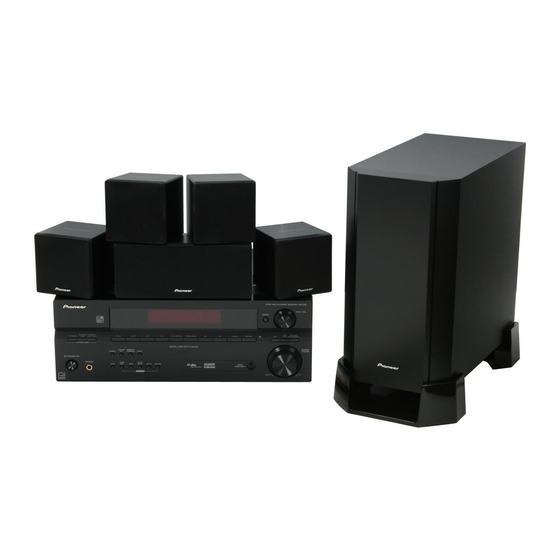
Pioneer HTP-2920 Betriebsanleitung - Seite 3
Blättern Sie online oder laden Sie pdf Betriebsanleitung für Lautsprechersystem Pioneer HTP-2920 herunter. Pioneer HTP-2920 13 Seiten. Audio multi-channel receiver
Auch für Pioneer HTP-2920: Schnellstart-Handbuch (2 seiten), Betriebsanleitung (2 seiten)

CONNECTING YOUR SYSTEM
Important
Make sure all equipment is turned off before making any
connections.
• Correct wiring of your loudspeakers is essential for achieving
the best sound quality. Be careful to ensure proper polarity of
connection.
• If any of the bare speaker wire touches the back panel it may
cause the power to cut off as a safety measure.
Twist and pull off the protective shields on each wire.
Connect to the speaker terminals on the rear of the
receiver.
To connect, insert the colored wire into the matching positive
(colored) terminal and the other wire into the negative (black)
terminal as shown below.
Note that the color-coded tabs are as follows:
• Red : Front right (R)
• White : Front left (L)
• Green : Center speaker
• Purple : Subwoofer
• Grey : Surround right (R)
• Blue : Surround left (L)
Connect to the speaker terminals on the rear of the
speakers.
Match the colored wire with the color-coded label (above the tabs),
then insert the colored wire into the red (+) tab and the other wire
with the black (–) tab.
red
black
Colored marker
Colored marker
CABINET MAINTENANCE
Use a polishing cloth or dry cloth to wipe off dust and dirt.
When the cabinet is very dirty, clean with a soft cloth dipped in some
neutral cleanser diluted five or six times with water, and then wipe
again with a dry cloth. Do not use furniture wax or cleaners.
Never use thinners, benzine, insecticide sprays and other chemicals
on or near the cabinets, since these will corrode the surfaces.
WALL-MOUNTING THE FRONT, CENTER AND
SURROUND SPEAKER SYSTEM
Before mounting
• Remember that the speaker system is heavy and that its weight
could cause the screws to work loose, or the wall material to fail
to support it, resulting in the speaker falling. Make sure that the
wall you intend to mount the speakers on is strong enough to
support them. Do not mount on plywood or soft surface walls.
• Mounting screws are not supplied. Use screws suitable for the
wall material and support the weight of the speaker.
Mounting screw
(not supplied)
5 mm to 7 mm
(3/16 in. to 1/4 in.)
Note
• If you are unsure of the quality and strength of the walls, consult
a professional for advice.
• Pioneer is not responsible for any accidents or damage that
result from improper installation.
5 mm
(3/16 in.)
10 mm
(3/8 in.)
3
En
