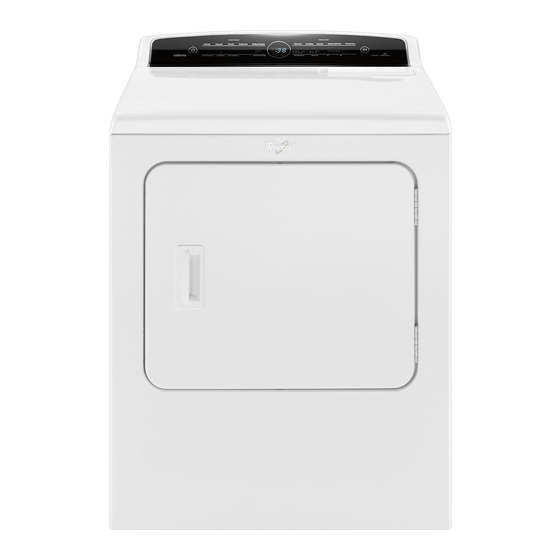
Whirlpool Cabrio,- WED7300X Handbuch installieren - Seite 6

Blättern Sie online oder laden Sie pdf Handbuch installieren für Trockner Whirlpool Cabrio,- WED7300X herunter. Whirlpool Cabrio,- WED7300X 16 Seiten. Top-loading high efficiency low-water washer
Auch für Whirlpool Cabrio,- WED7300X: Handbuch für Gebrauch und Pflege (40 seiten), Handbuch für Gebrauch und Pflege (40 seiten), Handbuch für Gebrauch und Pflege (36 seiten), Handbuch für Gebrauch und Pflege (32 seiten), Handbuch für Gebrauch und Pflege (40 seiten), Handbuch für Gebrauch und Pflege (40 seiten), Abmessungen und Installationsinformationen (1 seiten), Handbuch der Abmessungen (2 seiten), Handbuch für Gebrauch und Pflege (40 seiten), Handbuch für Gebrauch und Pflege (48 seiten), Handbuch für Gebrauch und Pflege (40 seiten), Handbuch für Gebrauch und Pflege (40 seiten), Handbuch für Gebrauch und Pflege (40 seiten), Handbuch für Gebrauch und Pflege (44 seiten), Handbuch für Gebrauch und Pflege (19 seiten), Verwendung & Pflege Gude (44 seiten), Handbuch für Gebrauch und Pflege (44 seiten)

Whirlpool Cabrio,- WED7300X Handbuch installieren
7.
Remove drain hose form
(floor drain installations only)
For floor drain installations, you will need to remove the drain
hose form from the end of the drain hose. You may need
additional parts with separate directions. See "Tools and Parts".

CONNeCT INLeT hOses

Washer must be connected to water faucets with new inlet
hoses with flat washers (not provided). Do not use old hoses.
Both hoses must be attached and have water flowing to
inlet valves. If you are only connecting to a cold water
faucet, you must use a Y-adapter (not provided).
8.
Connect inlet hoses to water
faucets
Attach hose to hot water faucet. Screw on coupling by hand
until it is seated on washer. Use pliers to tighten couplings an
additional two-thirds turn. Repeat this step with second hose
for cold water faucet.
IMPORTANT: Do not overtighten or use tape or sealants on
valve when attaching to faucets or washer. Damage can result.
HELPFUL TIP: Make note of which hose is connected to hot
water to help in attaching hoses to washer correctly. In most
standard configurations, hoses will cross over each other when
attached correctly.
6
9.
Clear water lines
Run water for a few seconds through hoses into a laundry tub,
drainpipe or bucket to prevent clogs. Water should run until
clear.
10.
Connect inlet hoses to washer
Attach hot water hose to hot water inlet valve marked with a red
ring. Screw coupling by hand until it is snug. Use pliers to tighten
couplings an additional two-thirds turn. Repeat with cold water
inlet valve.
IMPORTANT: To reduce risk of hose failure, replace the hoses
every 5 years. Record hose installation or replacement dates for
future reference.
n Periodically inspect and replace hoses if bulges, kinks, cuts,
wear, or leaks are found.
11.
Check for leaks
Turn on water faucets to check for leaks. A small amount of
water may enter washer. It will drain later.