Directed Xpresskit DBALL2 Installationshandbuch - Seite 3

Blättern Sie online oder laden Sie pdf Installationshandbuch für Durch Schlösser Directed Xpresskit DBALL2 herunter. Directed Xpresskit DBALL2 18 Seiten. Ford5 remote start ready (rsr) installation
Auch für Directed Xpresskit DBALL2: Installationshandbuch (12 seiten), Installationshandbuch (19 seiten), Handbuch (14 seiten), Installationshandbuch (13 seiten), Installationshandbuch (14 seiten), Installationshandbuch (19 seiten), Installationshandbuch (16 seiten), Installationshandbuch (20 seiten), Installationshandbuch (15 seiten), Handbuch für Installation und Kurzanleitung (16 seiten), Installationshandbuch (18 seiten), Installationshandbuch (16 seiten), Installationshandbuch (18 seiten), Installationshandbuch (16 seiten), Handbuch (19 seiten)
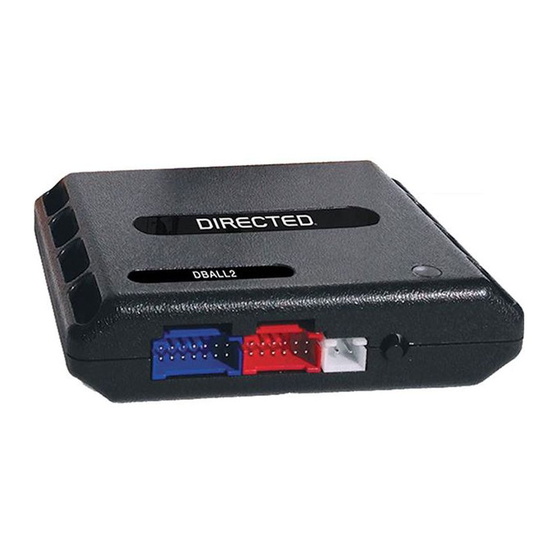
Directed Xpresskit DBALL2 Installationshandbuch
Platform: DBALL2
Firmware:
HYUNDAI4
Installation Type 1
Refer to the Vehicle Wiring Reference Chart on page
(-) PTS 1:
Orange/Black, pin 3
1
2
3
4 5
M04
(
black conn.
at
PTS
switch)
16
15
14
13
12
(-) PTS 2:
Yellow/Orange,
pin
2
M01-L
(white conn. at
head ight witch
l
s
)
1
2
3
4
5
6
7
8
9
10
12
14
15
16
11
13
(-) Parking Lights:
Pink,
pin 1
5
(+) Starter:
Pink, in 11
p
(+) Accessory:
Yellow, in
p
3
(+) Ignition:
Green, in 21
p
With the exception of the
OB II
Remote Start Ready
8
6 7
11
10
9
HS CAN High:
HS CAN Low:
FT CAN High:
FT CAN Low:
(+) 12V Input:
(+) Ignition
(+) 12V
(-) Ground:
(-)
PTS
1
Output Black/White:
(-)
PTS
2
Output Green/Black:
(-) Parking Lights
Output Red/Black:
(+) Accessory Output:
(+) Starter Output:
Immo. Data:
EMS COM:
White/Orange, in
p
32
EM11
(black conn. in driver kick panel)
D
Diagno tic connector, all adapters are displayed from the wire side (unless specified otherwise).
s
(RSR)
Installation
4
for wire color and component location.
MF
11
(white conn. in driver kick panel)
2
3
1
12
13
14
11
22
23
24
21
31
32
33
40
41
42
39
Tan/Black:
3
Tan:
4
Orange/Green:
5
Orange/Brown:
6
Brown:
7
Output Yellow:
:
8
Input Red:
:
13
Black:
14
:
1
:
2
:
4
Gray:
6
Gray/Black:
7
Orange/Black:
11
RF
Prog Button
.
LED
4
5
6
7
8
9
10
15
16
17
18
19
20
25
26
27
28
29
30
34
35
36
37
38
B-
CAN
Low:
Red, pin 33
43
44
45
46
47
48
OB II
D
1
Diagnostic
connector
9
C-
CAN
Low
Orange, in 1
p
Hood Pin
Note: hood pin only required
on vehicle not equipped with a
s
factory hood pin
Remote Start Safety
6: White/Black: (-) Hood Input
DBALL
2
You can connect to either a
RFTD
OR
a SmartStart module.
Refer to the SmartStart/
Installation Notes for more information.
© 2017 Directed. All rights reserved.
Rev.: 20170814
Page 3
B-
CAN
High:
Blue, pin 24
C-
CAN
High
:
Green, in
p
6
8
16
(+) 12V:
:
Gray/Black,
4
p
in 16
Override Switch
XL
202
XL
202